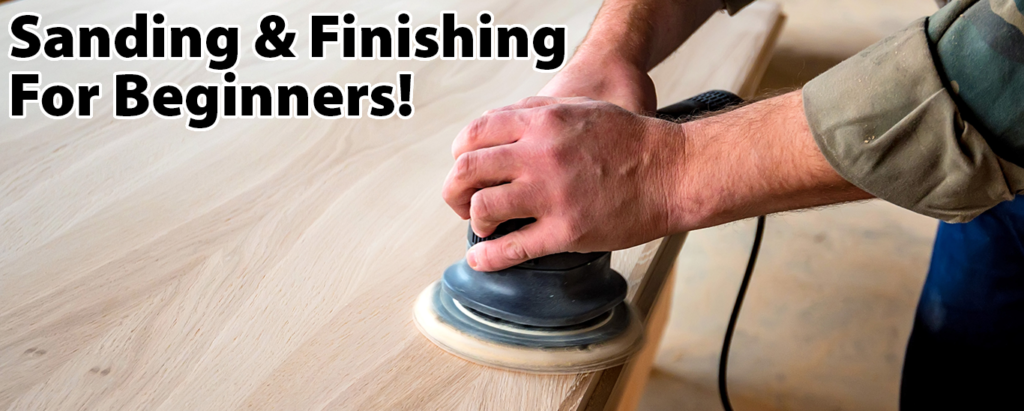
Sanding and finishing are possibly the most important steps in any woodworking project, as they can help to smooth out rough surfaces, remove imperfections, and protect the wood from damage. For a beginner, this process can be very over whelming. Not to worry because In this blog post, I will walk you through the steps of sanding and finishing your first woodworking project, so you can achieve professional-looking results. (Fingers-Crossed)
Step 1: Gather your materials
Before you start sanding and finishing your project, make sure you have all the necessary materials. You will need:
- Sandpaper: You will need a few different grits of sandpaper for different stages of sanding. For rough sanding, use a lower grit paper such as 80 grit. For medium sanding, use a medium grit paper such as 120 grit. For fine sanding or sanding of the finish coat, i like to use a higher grit paper around 320 grit.
- An Orbital Sander and or a sanding block: A sanding block will help you apply even pressure and keep your sandpaper flat as you work. You can use a store-bought sanding block or make your own by wrapping sandpaper around a block of wood.
- A dust mask: Sanding can create a lot of toxic wood dust, so it’s very important to protect your respiratory system by wearing a dust mask.
- An air blower or a clean, dry cloth: You will need a clean, dry cloth to wipe away dust and debris as you work.
Step 2: Sand your project
Once you have gathered your materials, it’s time to start sanding your project. Begin by sanding with a low grit sandpaper (such as 80 grit) to remove any rough or uneven surfaces. Use long, even strokes if sanding by hand and apply moderate pressure. When you’re finished, wipe away the dust with a clean, dry cloth.
Next, switch to a medium grit sandpaper (such as 120 grit) and repeat the process. This will help to smooth out any remaining rough spots and prepare the surface for finisheing. Again, be sure to wipe away the dust with a clean, dry cloth when you’re finished.
Finally, depending on the project you can switch to a higher grit sandpaper (such as 150 grit) and give your project a final sanding. This will help to remove any swirls left by the sand paper.
Step 3: Prepare the surface for finishing
Before you apply a finish to your project, it’s important to make sure the surface is clean and free of dust and debris. Use a clean, dry cloth to wipe away any remaining dust and then allow the project to dry completely.
Step 4: Apply the finish
There are many different types of finishes you can use on your woodworking project, including oil, varnish, and polyurethane. Each type of finish has its own unique properties, so it’s important to choose the one that best suits your project. If this is your first ever project, i would highly reccomend and oil finish such as Tung oil. It is very forgiving and will not leave drips or sags thanks to the fact that the oil is absorbed into the wood.
To apply the finish, follow the manufacturer’s instructions carefully. In general, you will want to start by applying a thin, even coat of tung oil onto your project. Let it dry and repeat!
Step 5: Allow the finish to cure
After you have applied the final coat of finish, it’s important to allow the finish to cure completely before using or handling your project. Curing times will vary depending on the type of finish you are using, so be sure to follow the manufacturer’s instructions for the specific product you are using.
During the curing process, the finish will harden and become more durable. This is an important step, as it will help to protect your woodworking project from damage.
Step 6: Sand and buff the finish
Once the finish has cured, you can give your project a final sanding and buffing to remove any imperfections and create a smooth, professional-looking finish.
To sand out the finish, use can use a higher grit sandpaper (such as 320- 400 grit) and apply light pressure. Wipe away the dust with a clean, dry cloth when you’re finished.
++Optional++To buff the finish, use a soft, lint-free cloth and apply a small amount of buffing compound. Rub the compound into the surface in a circular motion until the finish is smooth and shiny.
Step 7: Enjoy your finished project!
Congratulations! You have successfully sanded and finished your first woodworking project. Take a moment to appreciate your hard work and the beautiful finished product. With practice and patience, you will continue to improve your skills and create even more impressive projects in the future.
I hope this blog has helped you understand the process of sanding and finishing a woodworking project. With these steps in mind, you will be well on your way to creating beautiful, professional-looking pieces that you can be proud of. For more Woodworking knowledge check out this video.


 Do Not Sell My Personal Information