


When barrel-aging homebrewed beverages at home, it’s always important to be able to move your barrel around once it’s filled. Whether your beverage is beer, wine, cider, or mead, once you fill the barrel, it’s heavy stuff and not easy to move. Building a Rolling Barrel Stand can make your life easier by putting your filled barrel on wheels.
Building a Rolling Barrel Stand doesn’t have to be a difficult project and, with the right parts and tools, you can build it quickly and make it strong enough to support the extra weight that comes from a filled barrel.
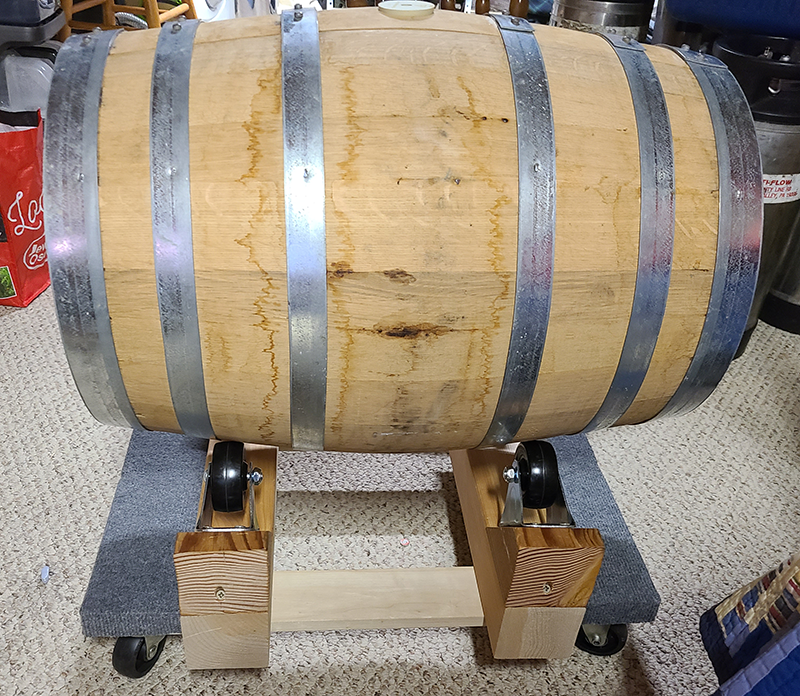
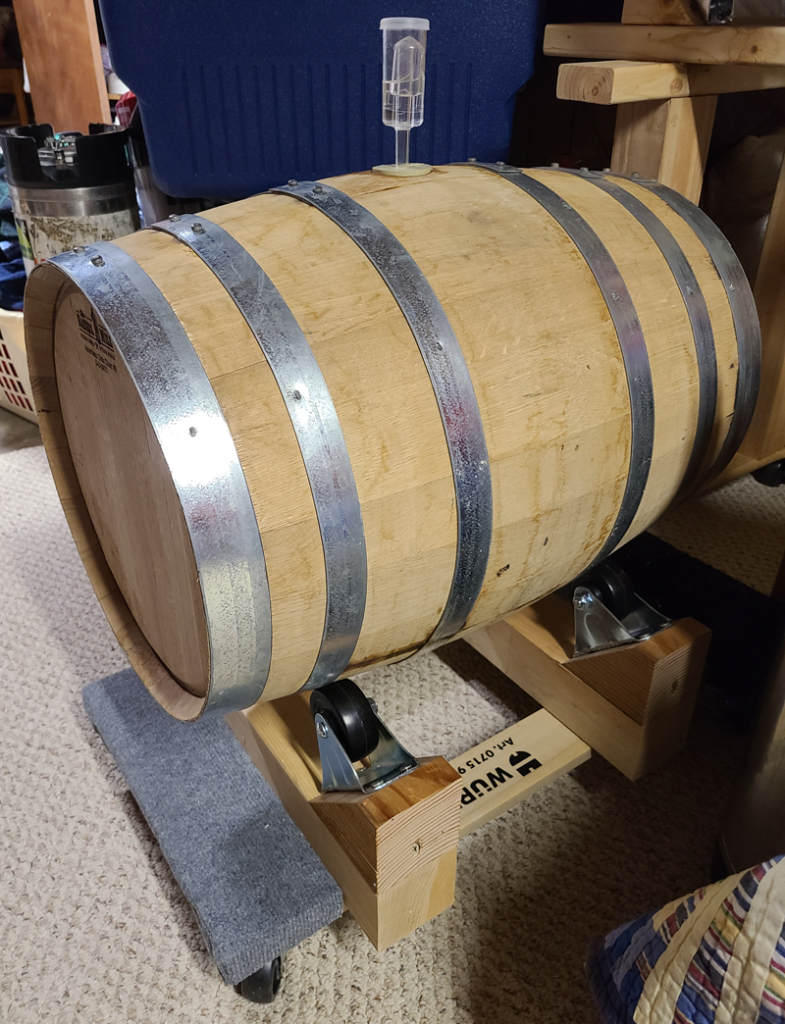
The Rolling Barrel Stand in this Do-It-Yourself project keeps your barrel fairly low to the ground but high enough to make it easier to move and work with the contents. It also sits on wheels facing upwards so you can gently roll the barrel contents whenever you need to mix things up a bit.
Our project is designed to hold a 15-gallon barrel and the project is constructed on top of a rolling dolly that supports up to 1000 lbs. (The 1000 lb. capacity is overkill for this project but efficient in that the dolly half of the project comes already assembled when you purchase it). We attach additional supports to raise the barrel up and provide more stability. The intention of our additional supports is to provide added stability and focus the weight of the barrel straight down through the center, and strongest part, of our rolling barrel stand.
Getting Technical: Barrel and Fluid Weight Math
Before we start a project like this, we need to make sure the parts we are putting together can support the weight of the materials we are putting on top of it. Our finished Rolling Barrel Stand needs to support the 15-gallon barrel and its contents without falling apart.
We know from picking up an empty 15-gallon wooden barrel that it can weigh roughly 30 – 40 lbs. (this is purely a guestimate from me picking up a barrel from my last project. While my guesstimate may be off, the structure we’ll build here should be more than enough to support our filled barrel. This number is provided to support the math below. Weigh your own empty barrel to get a more precise measurement.)
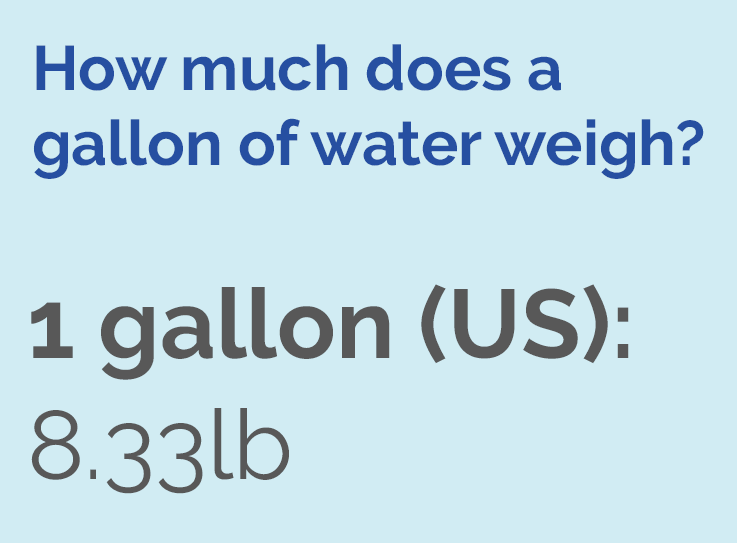
Water, by itself, weighs 8.33 lbs. per gallon and brewed beverages are made up mostly of water.
A 15-gallon barrel holds about 15 gallons of volume but some can hold as much as 16-17 gallons depending on the barrel maker. If we take the worst case scenario and say our barrel holds 17 gallons, we can then say, roughly, that…
17 gallons of fluid in the barrel x 8.33 lbs. / gal = 141.6 lbs of liquid will be stored in the barrel
Brewed beverage = 141.6 lbs.
Barrel = 40 lbs.
——————–
Beverage weight + Barrel weight = approximately 181.6 lbs.
Therefore, our finished Rolling Barrel Stand needs to support at least 181.6 lbs. approximate total weight on top of it.
Materials Needed for the Rolling Barrel Stand Project
- 4-Wheel Open Dolly, 1000 lb. Capacity (available from Woodworker Express)
- 60″ – 64″ length piece of 4×4 wood, untreated (4″ x 4″ x 60″ Length)
- Four (4) – Rigid Casters, 2-1/2″ – 3″, Rubber, 200+ lbs. Capacity (available from Woodworker Express)
- 3-1/2″ wood screws
- 1″ or so washer head or modified pan head screws to secure the casters (or, use a screw with washer combination). I used 1″ modified pan head screws. (Click here for a 1″ Modified Washer Head screw at Woodworker Express)
Note: I used 2-1/2″ casters for this project. If you change the casters size, make sure to adjust your measurements in or out depending on the size of the casters. For example, if you use a 3″ caster instead of the 2-1/2″ caster, that is 1/2″ more in size times 2 casters giving you 1″ to adjust. Therefore, you would have to adjust your main support pieces to be 1″ larger to accommodate the extra inch… 21-1/2″ L instead of 20-1/2′ L and vice versa if your casters were smaller than 2-1/2″.
Tools Needed
- Miter saw
- Power drill
- Phillips Screwdriver or powered screwdriver
- Clamps (Pony Jorgensen E-Z Hold One-Handed Clamp is a good option)
- (optional) Scrap piece of wood for support in assembly step
- (optional) Step drill bit or countersink drill bit for more finished look when attaching angled blocks
Materials Preparation
Note: I have built this Rolling Barrel Stand project two different ways and modeled the measurements and calculations for this project from those projects. You may adjust these measurements for your own design but, my measurements are provided now as a guide and starting point.
Our 15-gallon barrel is about 16″ wide at the point it makes contact with the rollers of the finished project. We want our barrel raised a bit higher to make it easy to roll and support strongly.
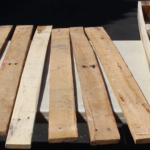
- Cut two (2) 20-1/2″ L main support pieces from the 4×4 wood
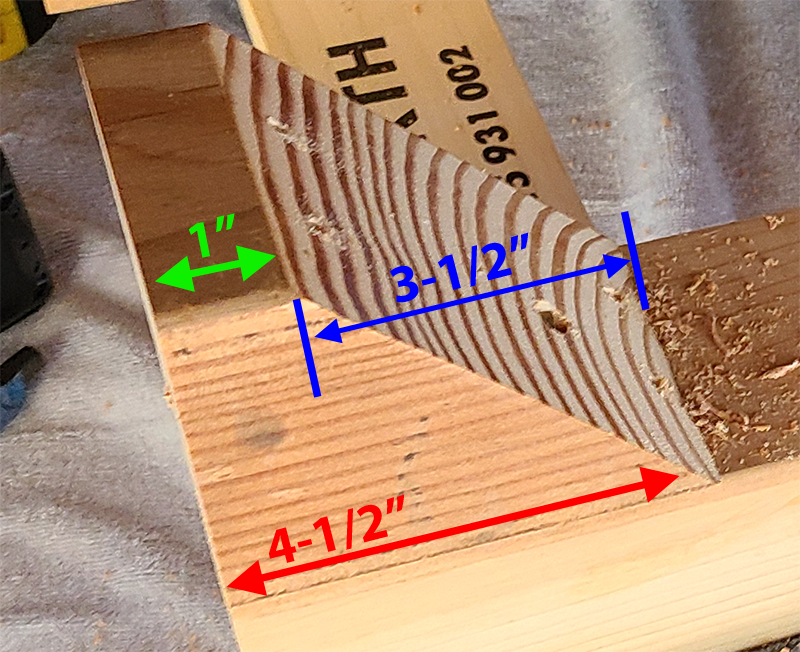
- From the same 4×4 piece of wood, cut four (4) 4-1/2″ L pieces that are 3-1/2″ at a 45° angle with an additional inch of length remaining (see illustration below).
Assembly of the Rolling Barrel Stand
The support pieces, angled blocks, and casters are assembled together to form a cradle for your barrel that allows you to rock your barrel for various mixing functions.
1. Mount the support pieces to the dolly: The two main support pieces are mounted across the dolly inside the carpeted end pieces of the dolly. Center the first support piece across the dolly on the inside of the dolly’s open space pressing the support piece tightly against the carpeted end piece of the dolly. Secure it with clamps or have a friend hold this piece steady. Flip the dolly over, pre-drill 2-3 holes through the dolly and support piece on each side and then drive 3-1/2″ screws through the bottom of the dolly and into the 20-1/2″ support pieces. Repeat with the 2nd support piece on the other side of the dolly against the carpeted end. Flip the dolly back over.
2. Mount the angled blocks: These pieces are mounted to our support pieces and then the upward facing casters are mounted to them. The extra inch of space is added to the blocks to support the screw lengths used in this project. Mount your angled blocks to the support pieces with the angled ends facing inward. Secure blocks with 3-1/2″ screws. Be sure to secure the blocks to the supports along the center lines so as not to interfere with the placement and mounting of the casters in the next step. Also, for a clean look, try to keep the angled pieces flush to the outside of your support pieces when mounting. (I had a friend hold a scrap piece of wood flat against the outside of the support piece while I pushed my angled piece up against that scrap wood and then I secured it.)
We know our support piece is 20-1/2″ L and the angled piece of wood is 4-1/2″ L and we use one angled piece on each side of our support piece… so, 4-1/2″ + 4-1/2″ = 9″ leaving us with 11-1/2″ on the inside from one lower end of the angle to the next. (See Angled Blocks Illustration A)
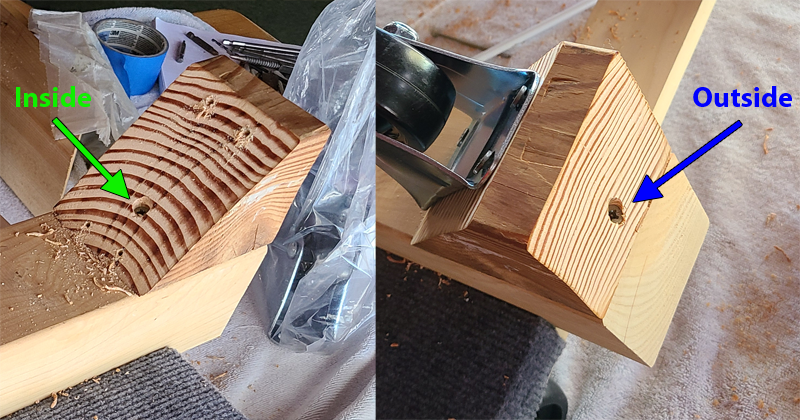
Be sure to secure the angled blocks on the inside of the support piece and on the outside. Screw through the pieces into the support pieces. Use a step drill bit or countersink drill bit if you want a more finished look. (See Angled Blocks Illustration B)

3. Mount the casters to the angled blocks: The last step is to mount the casters to the angled blocks. Place a caster on the angled block resting the bottom against the support piece. Mark and pre-drill the four holes for the caster. Then, attach the caster to the angled blocks with the 1″ screws (add washers if you don’t have wide enough heads on your screws to cover the holes). Repeat for all 4 casters.
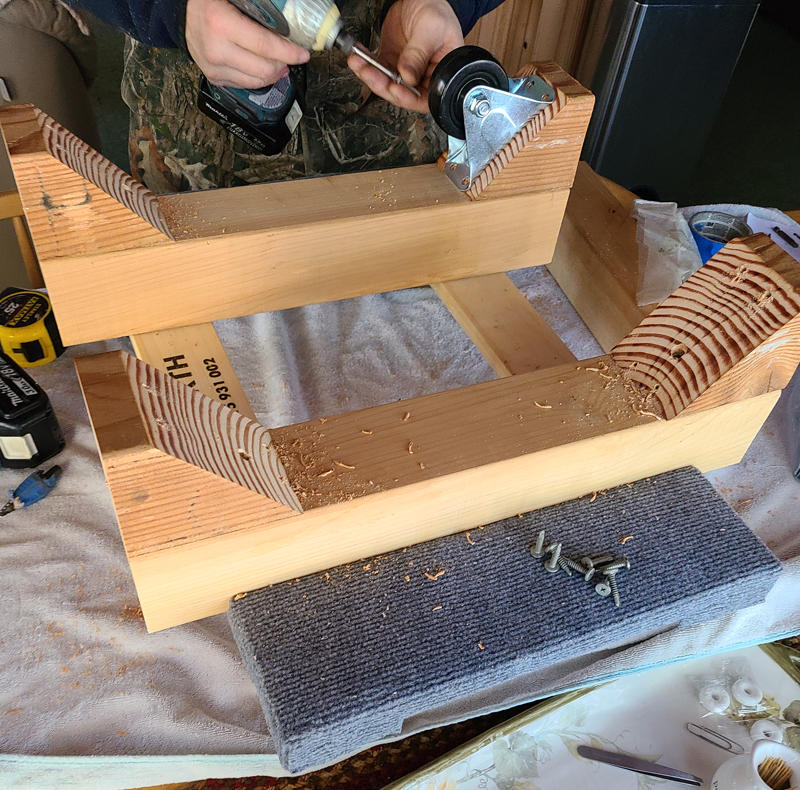
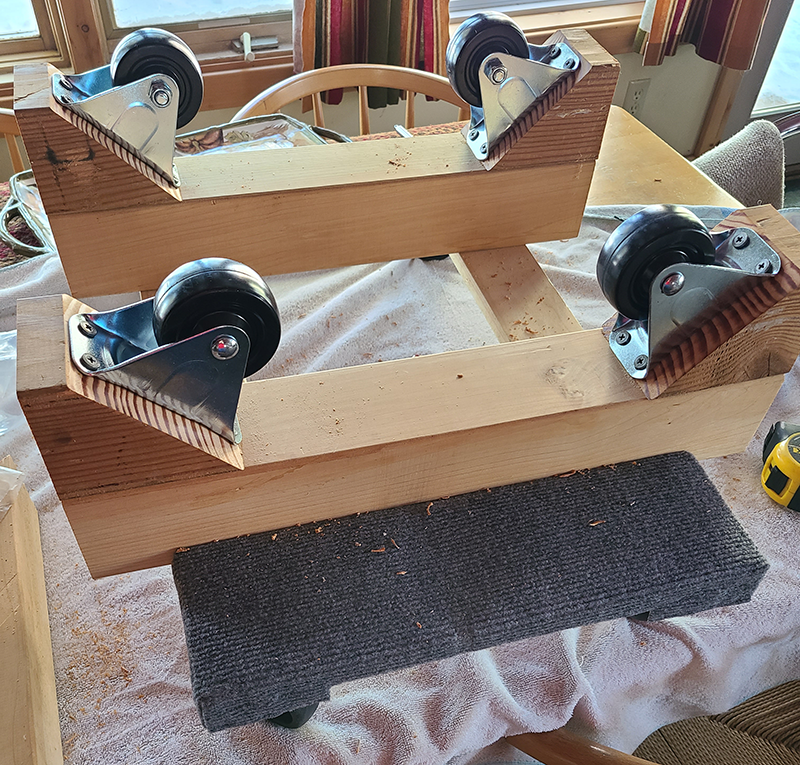
After all of the casters have been secured, your Rolling Barrel Stand is ready to be used to hold your barrel.

______________________
Kevin Wojdak has been a homebrewer since 2008 and, like most homebrewers, builds equipment he needs to support the hobby. He is also the Communications Officer for the Urban Knaves of Grain (UKG) Homebrew Club, DuPage County, Illinois and a member of the Technical Team for the Drunk Monk Challenge Homebrew Competition taking place annually in March.

 Do Not Sell My Personal Information