Posted inCabinet Hardware & Accessories Do-It-Yourself (DIY) X-Series Bracket Installation: Guide for Homeowners Posted by Taylor Shafer July 9, 2026 The X-Series Bracket System helps homeowners upgrade cabinets with rollout shelves that are easier to…
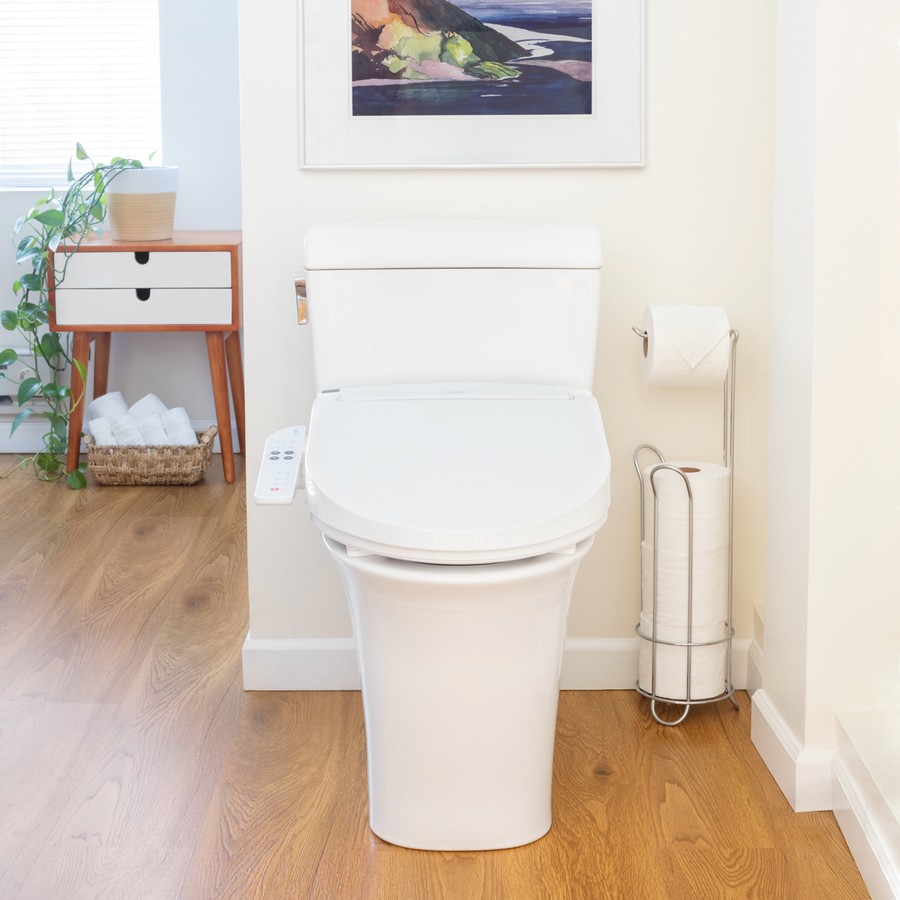
Posted inDo-It-Yourself (DIY) How to Install a Bidet Toilet Seat in 9 Steps Posted by Taylor Shafer April 1, 2026 Installing a bidet toilet seat is a manageable DIY project for most homeowners. In most…
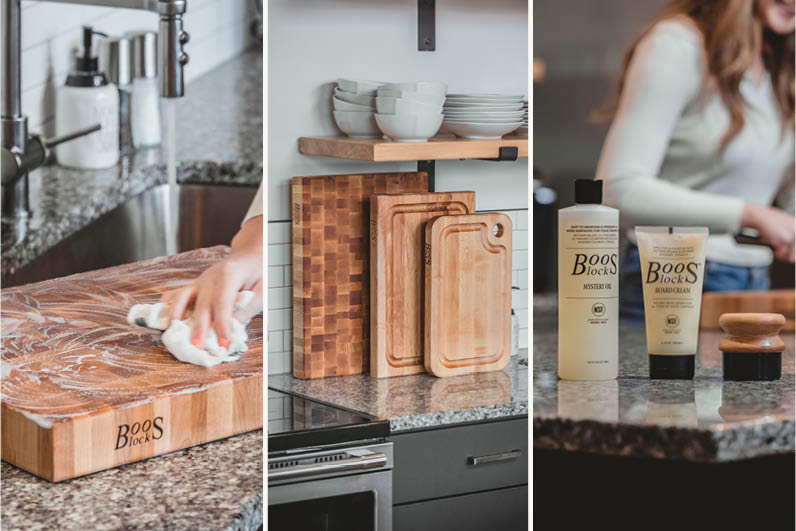
Posted inDo-It-Yourself (DIY) How to Clean Wood Cutting Board Posted by Taylor Shafer March 6, 2026 A wood cutting board is one of the most used tools in any kitchen. From…
Posted inCabinet Hardware & Accessories Do-It-Yourself (DIY) How to Replace Drawer Slides: Step-by-Step Guide Posted by Taylor Shafer February 20, 2026 Replacing your drawer slides is one of the fastest ways to make cabinets feel brand…
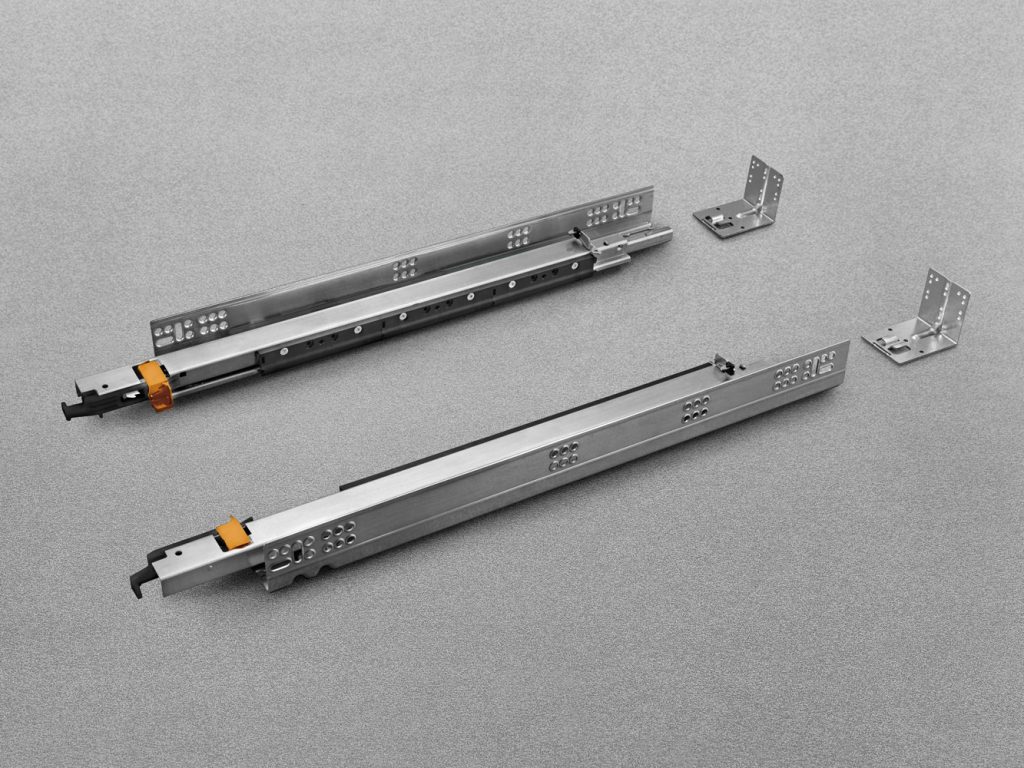
Posted inDo-It-Yourself (DIY) How to Install Salice Progressa Drawer Slides Posted by Taylor Shafer January 27, 2026 Salice Progressa undermount drawer slides are built for precision, smooth movement, and easy adjustment. When…
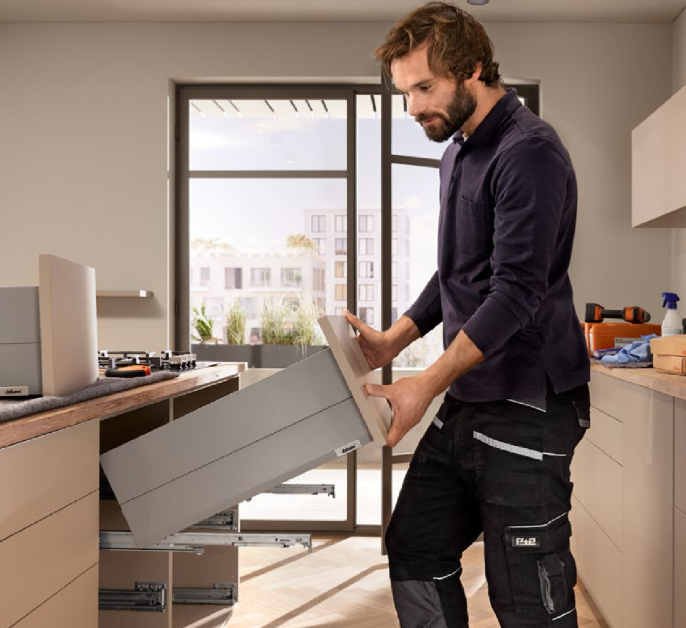
Posted inCabinet Hardware & Accessories Do-It-Yourself (DIY) How to Replace Side Mount with Undermount Drawer Slides Posted by Taylor Shafer November 25, 2025 If you’re a homeowner upgrading your kitchen or a cabinet shop owner catering to clients,…
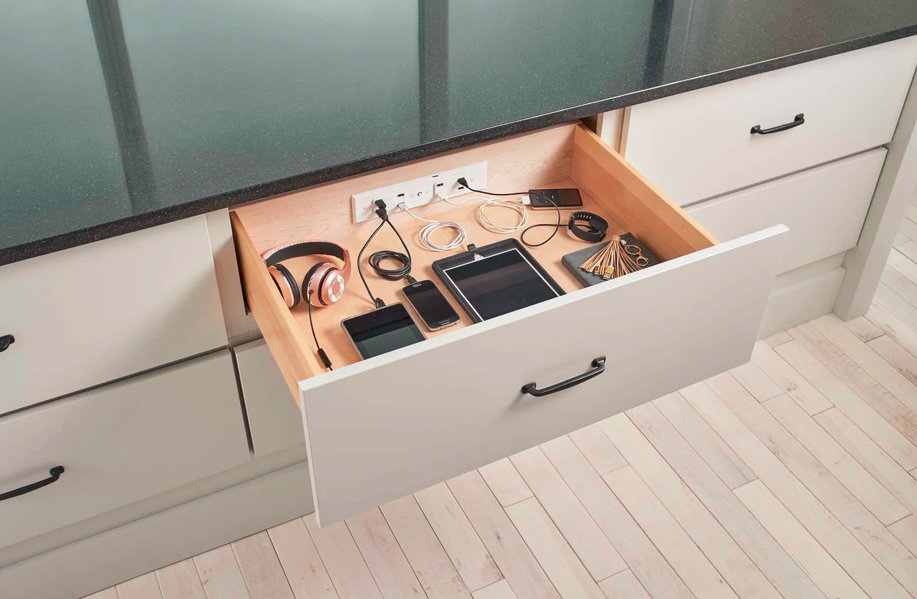
Posted inDo-It-Yourself (DIY) Product Spotlights How to Install a Docking Drawer Posted by Taylor Shafer November 20, 2025 Installing an in-drawer outlet keeps counters clear and cords managed. Follow this step-by-step guide to…
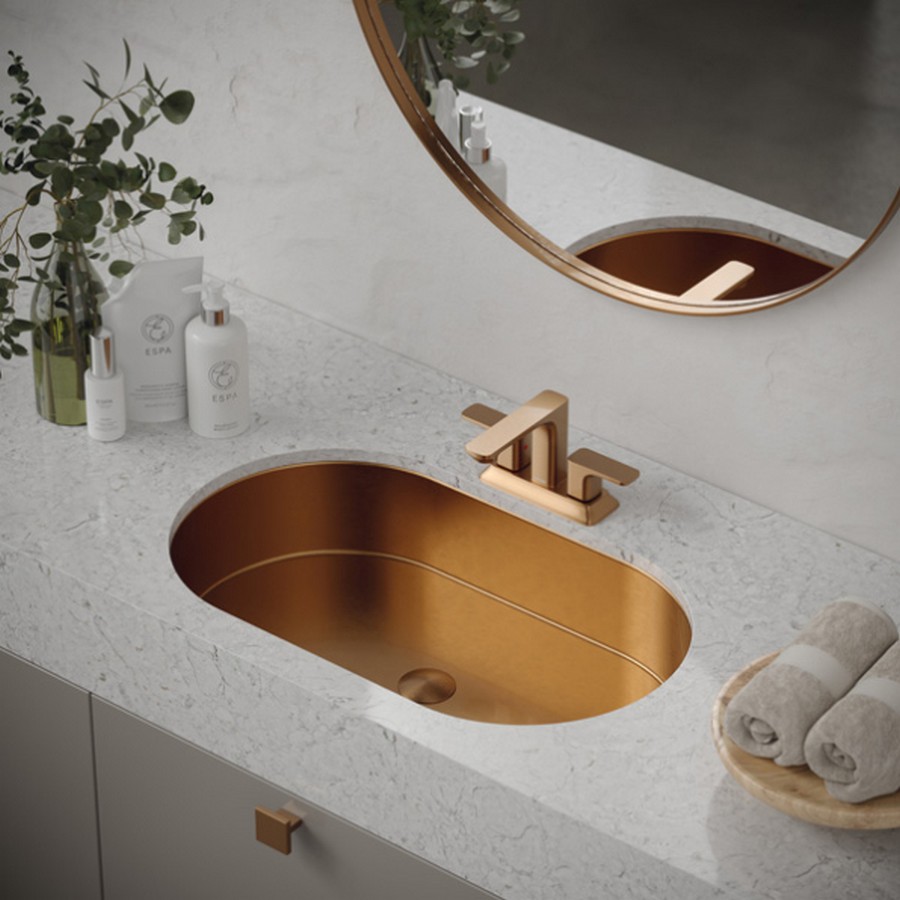
Posted inDo-It-Yourself (DIY) How to Install a Bathroom Vanity and Sink [Guide] Posted by Taylor Shafer November 13, 2025 Installing a bathroom vanity and sink is a rewarding DIY project that can refresh your…
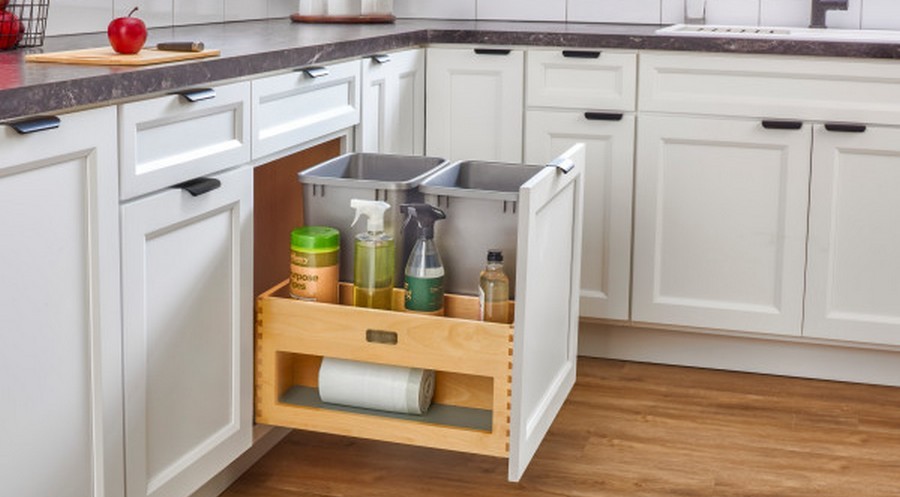
Posted inCabinets Do-It-Yourself (DIY) Storage & Organization Solutions How to Install a Pull Out Trash Can in a Kitchen Cabinet (DIY) Posted by Taylor Shafer November 4, 2025 A pull-out trash can is one of the easiest kitchen upgrades that delivers huge everyday…
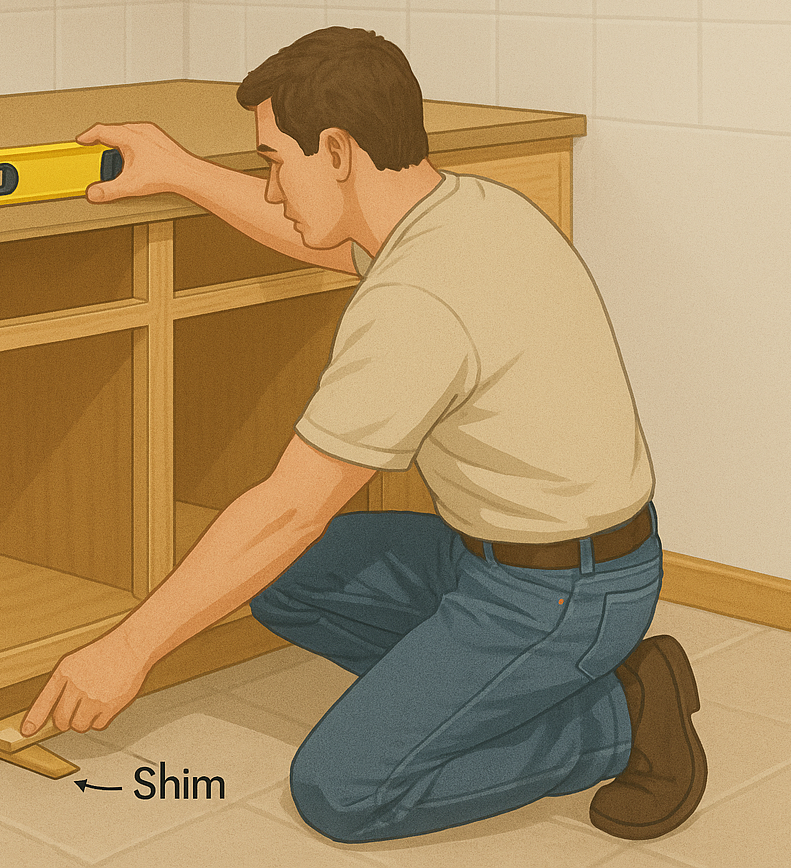
Posted inCabinets Do-It-Yourself (DIY) Product Spotlights How to Shim Cabinets Posted by Taylor Shafer October 27, 2025 Even the most carefully measured kitchen can go off track without proper shimming. A slightly…