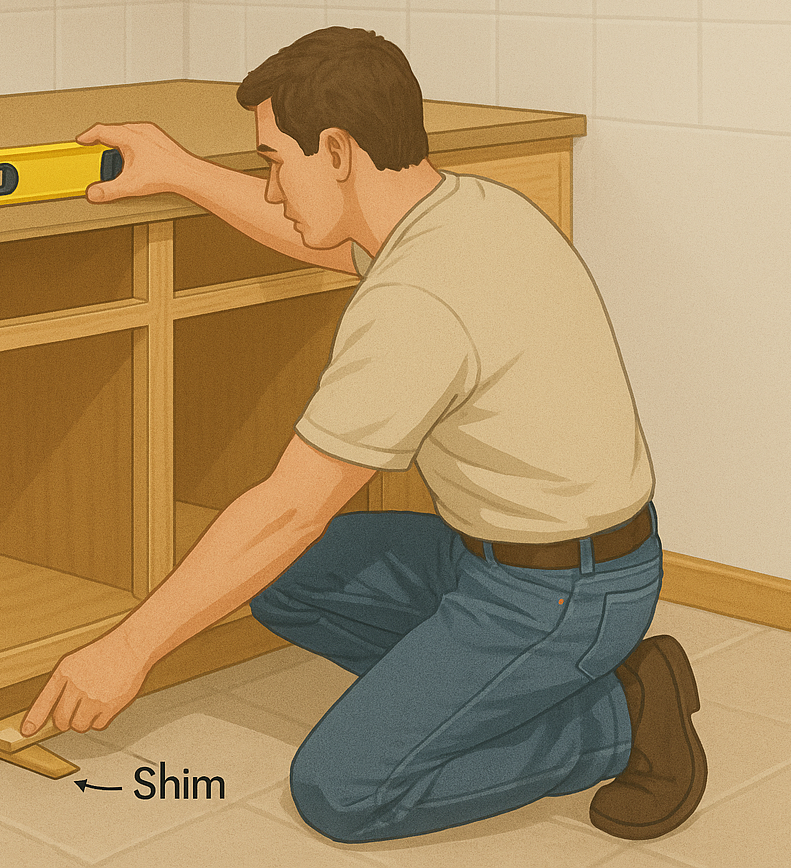
Posted inCabinets Do-It-Yourself (DIY) Product Spotlights How to Shim Cabinets Posted by Taylor Shafer October 27, 2025 Even the most carefully measured kitchen can go off track without proper shimming. A slightly…
Posted inCabinets Product Spotlights Woodworking Techniques & Tips What Are Shims?: A Comprehensive Guide Posted by Taylor Shafer October 27, 2025 Shims are small but essential tools that make big projects possible. Whether you’re hanging cabinets,…
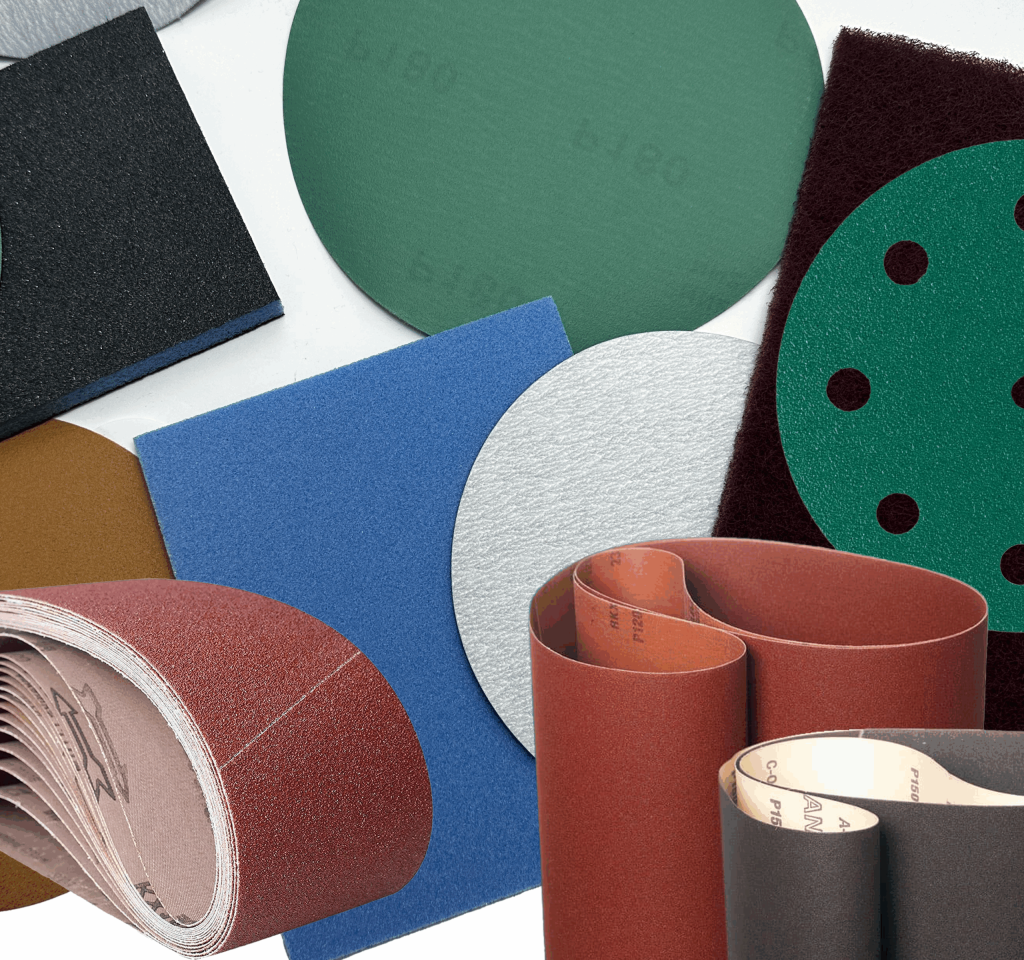
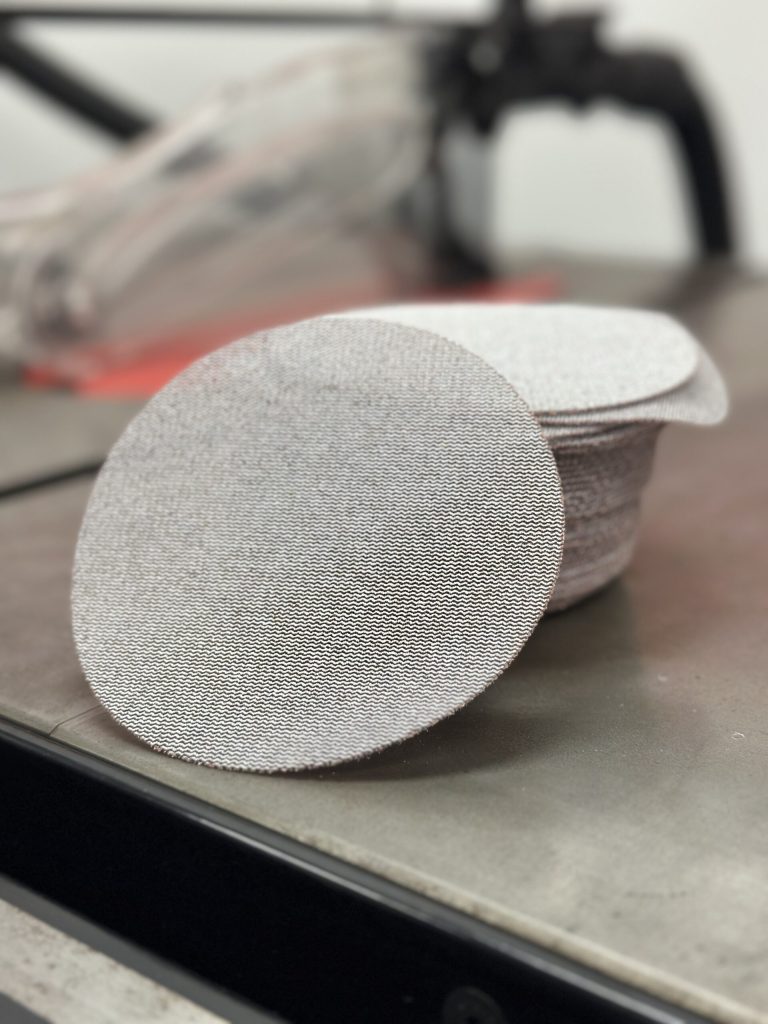
Posted inWoodworking Techniques & Tips Woodworking Tools and Equipment Ultimate Guide to Woodworking Abrasives: Details, Use Cases & Types Explained (2025) Posted by Taylor Shafer August 21, 2025 Sanding wood seems simple. Just rub some paper on wood and it gets smooth, right?…
Posted inDo-It-Yourself (DIY) Woodworking Techniques & Tips How to Use Woodworking Abrasives in 7 Steps Posted by Taylor Shafer August 21, 2025 Woodworking abrasives are powerful tools when used correctly. The difference between amateur and professional-looking work…
Posted inDo-It-Yourself (DIY) Woodworking Techniques & Tips 8 Tips for Woodworking Abrasives Posted by Taylor Shafer August 21, 2025 Sanding may look simple, but the difference between a flawless finish and a frustrating mess…
Posted inDo-It-Yourself (DIY) Woodworking Techniques & Tips Best Woodworking Abrasives for Beginners Posted by Taylor Shafer August 21, 2025 When you're new to woodworking, selecting the right abrasives can feel overwhelming with so many…
Posted inWoodworking Techniques & Tips Woodworking Tools and Equipment How Do Woodworking Abrasives Work? The Science of Sanding Posted by Taylor Shafer August 21, 2025 Sanding might seem simple, just rub paper on wood until it feels smooth. But woodworking…
Posted inCabinets Woodworking Techniques & Tips 5 Simple Steps for Filling Holes When Changing Cabinet Hardware Posted by Taylor Shafer July 8, 2025 Staring at empty holes in your cabinet doors after removing old hardware? Don't let those…
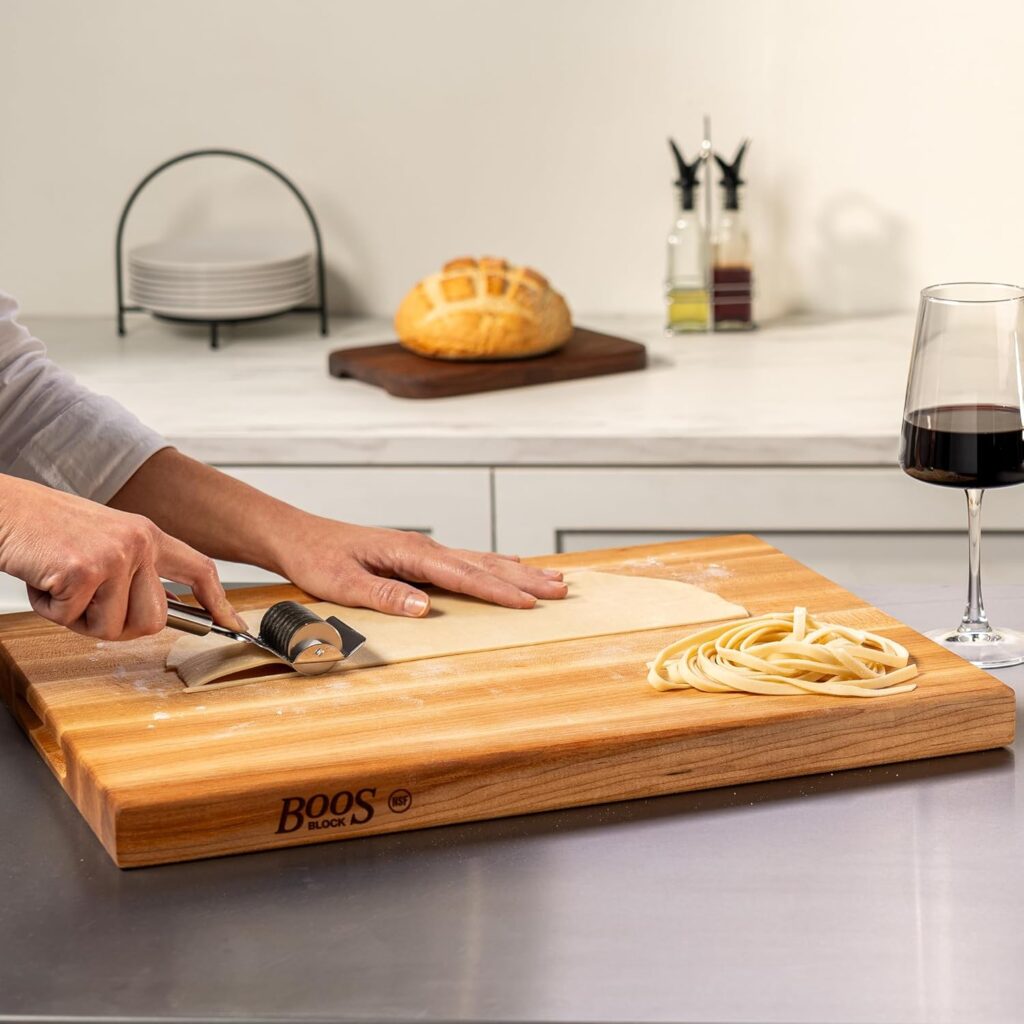
Posted inProduct Spotlights Woodworking Techniques & Tips Best Wood for Cutting Board: Our Pro Guide Posted by Taylor Shafer June 3, 2025 Not all cutting boards are created equal—and the wood you choose can make or break…
Posted inWoodworking Techniques & Tips Achieve Perfectly Smooth Surfaces: The Key to Using Abrasives in Woodworking Posted by Jason Rodrigue July 7, 2023 As any seasoned woodworker knows, the final finish of a project can make or break…