


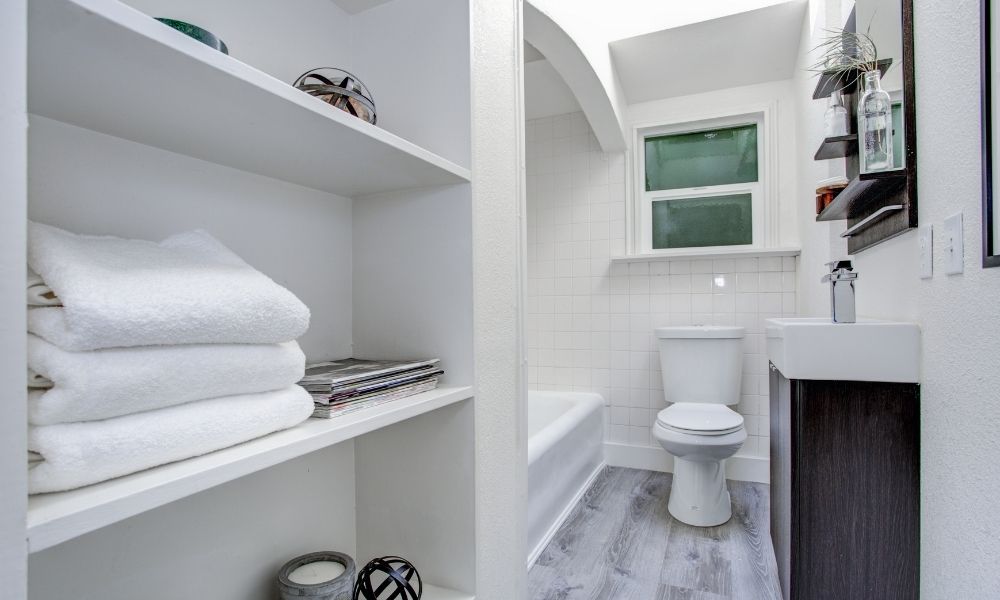
Bathrooms come in all shapes and sizes, but they always have one thing in common—there is never enough storage space. Learning how to install open bathroom shelves is a quick and easy way to squeeze extra storage on the walls of the bathroom. Plus, when chosen correctly, open shelves bring a little charm into an otherwise dull room of the house.
Determine Size and Spacing
Step into your bathroom and choose a wall where you will hang the shelves. Then, measure for width and height and how much space you’ll want in between each shelf. Next, determine how much shelving you will need based on your available space and needs.
A helpful hint is to find the tallest items you want to store to make sure the shelves are distanced apart enough to provide room for them.
Decide What Kind of Shelves to Install
There are multiple options when choosing open shelves: make them; buy them unfinished and stain or paint them yourself; or buy them pre-cut and prefinished. Whichever direction you choose, a visit to your favorite online shop or a trip to the local home improvement store is in order to choose your materials.
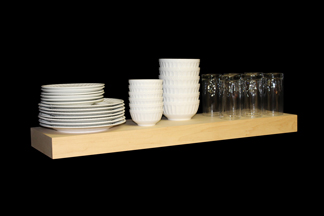
For simple open shelves, all you’ll need are boards to use for shelves and brackets for hanging along with the necessary tools, anchors, and screws. Or, purchase shelving kits such as floating shelves which contain the shelves and your hardware for hanging. Another option is standards and brackets for shelving.
Measure the space in your bathroom where the shelves will go to determine what size shelves you need to purchase or create.
Measure and Mark the Location
After measuring your space and choosing shelves and brackets, it’s time to drill some holes.
To hang your shelves properly and make sure they are stable and safe, you should anchor the shelves to a wall stud. Wall studs are boards within your walls that provide structure within your home, supporting the walls. Studs are spaced 16” or 24” apart within your walls and drywall is mounted to the boards.
Because studs are wood or metal and provide strong support for the walls in your home, they are ideal to provide additional support for your shelves.
Use an electronic stud finder device to determine where the studs are in the wall and mark the location.
Position the brackets on the wall where you are hanging the shelves. If you can position the bracket to mount into the stud, that would be ideal. Mark the spot using a pencil. Measure the distance between the holes on your brackets and transfer the measurements to the wall.
If you are unable to mount your shelves into wall studs, you can use a drywall anchor instead. Drywall anchors provide some support when mounting into drywall directly.
Drill your holes and/or insert your wall anchors and mount your brackets to the wall with screws or fasteners provided with your shelves. Check to make sure everything is level and make adjustments if necessary.
Attach the Shelves to the Brackets
Now that you have marked the wall and mounted the brackets, it’s time to set the shelves in place. Position your shelves and check to be sure everything is still level.
For added stability, screw the shelves directly into the brackets, which usually come with predrilled holes for that purpose.
Use Your New Shelves
Now that you’ve learned how to install open bathroom shelves, enjoy them by adding some items for storage and even a little decoration too. Placing baskets on open shelves creates an attractive look allowing you to still hide items from sight.
Woodworker Express offers bathroom storage solutions and many other bathroom necessities, including bathroom hardware for sale to help you continue improving your bathroom.

 Do Not Sell My Personal Information