Posted inProduct Spotlights Mondays with Mike…3-28-2022 Edition Nine Posted by Polly O'Hara March 28, 2022 An Amazing Lift System and Gold Hardware Lift This Kitchen to the Highest Level As…
Posted inUncategorized Mondays with Mike…3-21-2022 Edition Eight Posted by Polly O'Hara March 21, 2022 Re-craft Your Kitchen Into The Room You Don't Want to Leave The saying, as clichéd…
Posted inCabinets Mondays with Mike…3-14-2022 Edition Seven Posted by Polly O'Hara March 14, 2022 Achieve Kitchen Nirvana with New Organizers and Decorative Hardware We’re just past two months into…
Posted inDo-It-Yourself (DIY) Mondays with Mike…3-7-2022 Edition Six Posted by Polly O'Hara March 7, 2022 Closet Organization Accessories Are A Hit for Keeping A Clean Closet Who out there wears…
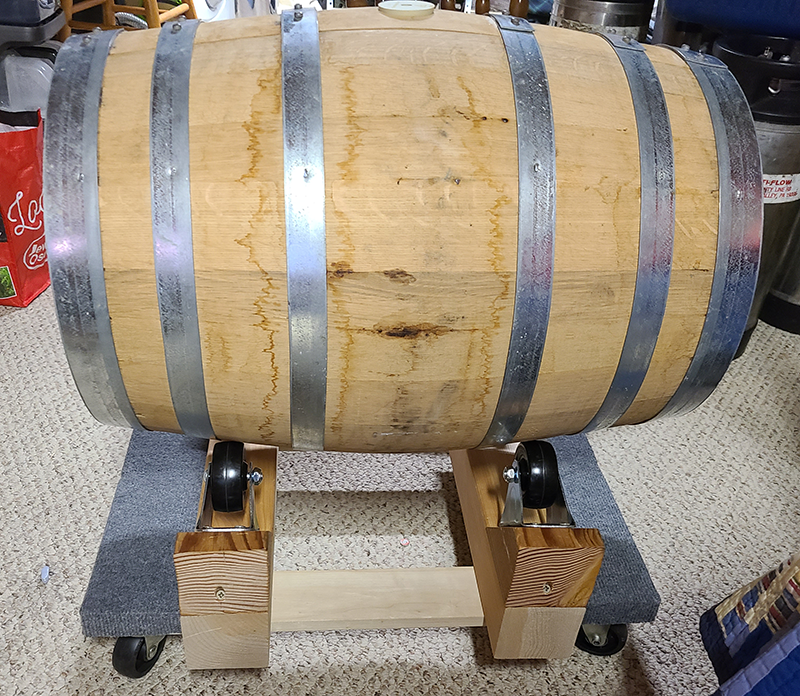
Posted inDo-It-Yourself (DIY) Woodworking Techniques & Tips DIY Project – Build A Rolling Barrel Stand Posted by Kevin Wojdak March 4, 2022 Building a simple Rolling Barrel Stand doesn’t have to be a difficult project and, with the right components, you can build it quickly and make it strong enough to support the extra weight that comes from a filled barrel.