Introduction:
Upgrading your cabinet doors and drawer fronts with decorative hardware is a simple yet effective way to enhance the aesthetic appeal and functionality of your kitchen or any other space with cabinets. In this detailed guide, we will walk you through the step-by-step process of installing decorative hardware, such as knobs and handles, to achieve a polished and professional look. Let’s get started on transforming your cabinets!
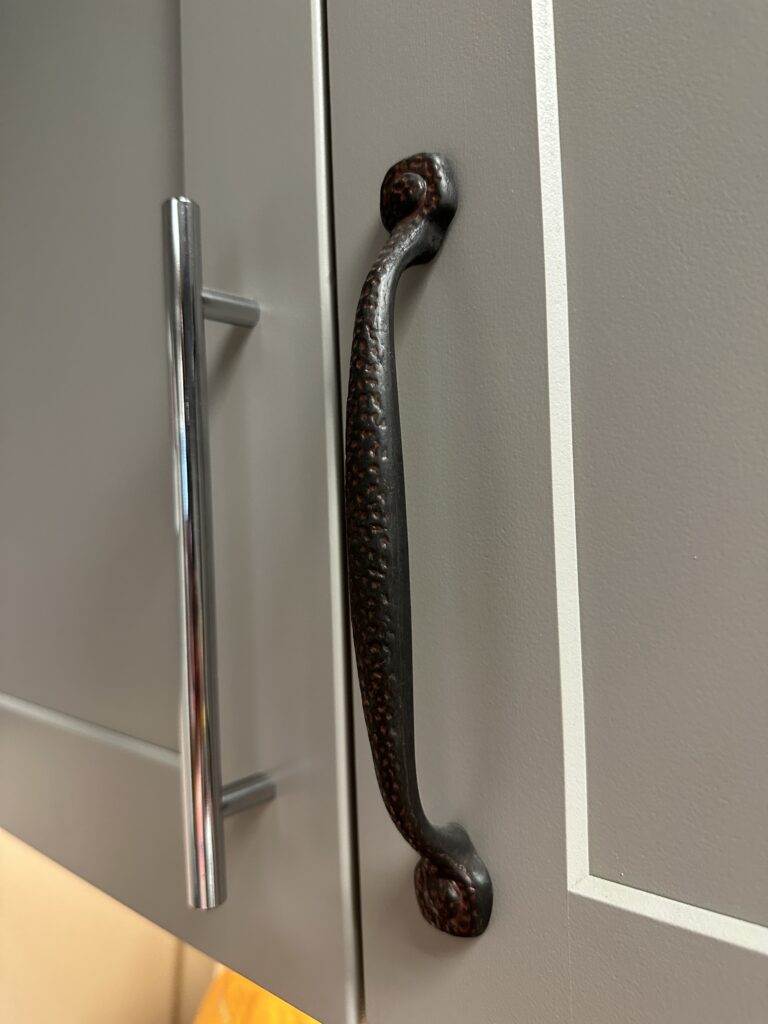
Materials Needed:
- Decorative hardware (knobs, handles, pulls)
- Measuring tape
- Pencil
- Screwdriver
- Drill
- Drill bits
- Cabinet template or jig (optional)
- Level
- Cleaning supplies
Step 1: Planning and Preparation
Determine the placement of the hardware. Consider the size, style, and functionality of the hardware, as well as your personal preferences. Measure and mark the desired location for each piece of hardware on the cabinet doors and drawer fronts using a measuring tape and pencil.
Prepare the cabinets by cleaning the surfaces where the hardware will be installed. Remove any dirt, grease, or residue that may affect the adhesion or installation process.
Step 2: Installing Knobs on Cabinet Doors
Start by selecting the appropriate drill bit size for the screws provided with the knobs. Typically, a 3/16-inch bit works well for most knobs.
Hold the knob against the marked spot on the cabinet door. Ensure it is aligned with adjacent hardware and leveled. Mark the locations for screw holes using a pencil.
Attach the drill bit to your drill and carefully drill pilot holes at the marked spots on the cabinet door. Take care not to drill all the way through the door. A depth slightly shorter than the length of the screws is sufficient.
Align the knob with the pilot holes and insert the screws provided. Tighten them using a screwdriver until the knob is securely fastened. Avoid overtightening to prevent damage to the cabinet door.
Repeat this process for all the knobs on your cabinet doors, ensuring consistent spacing and alignment.
Step 3: Installing Handles or Pulls on Cabinet Doors and Drawer Fronts
Similar to the knob installation process, measure and mark the desired location for each handle or pull on the cabinet doors and drawer fronts. Use a level to ensure straight alignment.
Determine the appropriate drill bit size for the screws provided with the handles or pulls. Drill pilot holes at the marked spots using the selected drill bit.
If you have a cabinet template or jig, align it with the marked locations and use it as a guide for drilling the pilot holes. This can help ensure consistency and accuracy in hole placement.
Align the handle or pull with the pilot holes and insert the screws provided. Begin by hand-tightening the screws, then use a screwdriver to fully secure them. Ensure that the hardware is securely fastened without being overtightened.
For drawers, consider using longer screws provided with the handles or pulls, especially for thicker drawer fronts. This will provide a stronger and more secure attachment.
Repeat the process for all handles or pulls on both the cabinet doors and drawer fronts, maintaining consistent spacing and alignment.
Step 4: Finishing Touches and Inspection
After installing all the decorative hardware, double-check the tightness of each screw to ensure all knobs, handles, and pulls are securely fastened.
Take a step back and inspect the cabinets to ensure the hardware is level, aligned, and visually pleasing. Make any necessary adjustments to achieve a balanced and cohesive look.
Clean the cabinets and hardware with appropriate cleaning supplies to remove any fingerprints or smudges from the installation process. This will leave your cabinets looking pristine and ready to showcase their new decorative hardware.
Finally, step back and admire your newly upgraded cabinets! Appreciate the transformation and the added style and functionality that the decorative hardware brings to your space.
Maintenance Tips:
To keep your decorative hardware and cabinets in excellent condition, consider the following maintenance tips:
Regular Cleaning: Wipe down the hardware regularly using a soft, damp cloth to remove any dust or grime that may accumulate. Avoid using harsh chemicals that could damage the finish.
Preventive Maintenance: Periodically check the tightness of screws and fasteners to ensure they remain secure. If any become loose, simply tighten them with a screwdriver.
Cleaning Product Compatibility: When using cleaning products on your cabinets, ensure they are safe for the specific type of hardware and cabinet material. Read product labels and follow manufacturer recommendations.
Avoid Abrasive Materials: Use non-abrasive cleaning tools, such as microfiber cloths, to avoid scratching or damaging the hardware’s finish.
Handle with Care: Open and close cabinet doors and drawers gently, avoiding excessive force or pulling on the hardware. This will help maintain their integrity and prolong their lifespan.
Conclusion:
By following this detailed guide, you can successfully install decorative hardware on your cabinet doors and drawer fronts. This simple DIY project will elevate the overall look and functionality of your cabinets, giving your space a fresh and polished appearance. Enjoy the process and the satisfaction of completing this transformative upgrade. With your newly installed decorative hardware, your cabinets will not only be more visually appealing but also easier to use on a daily basis.









 Do Not Sell My Personal Information