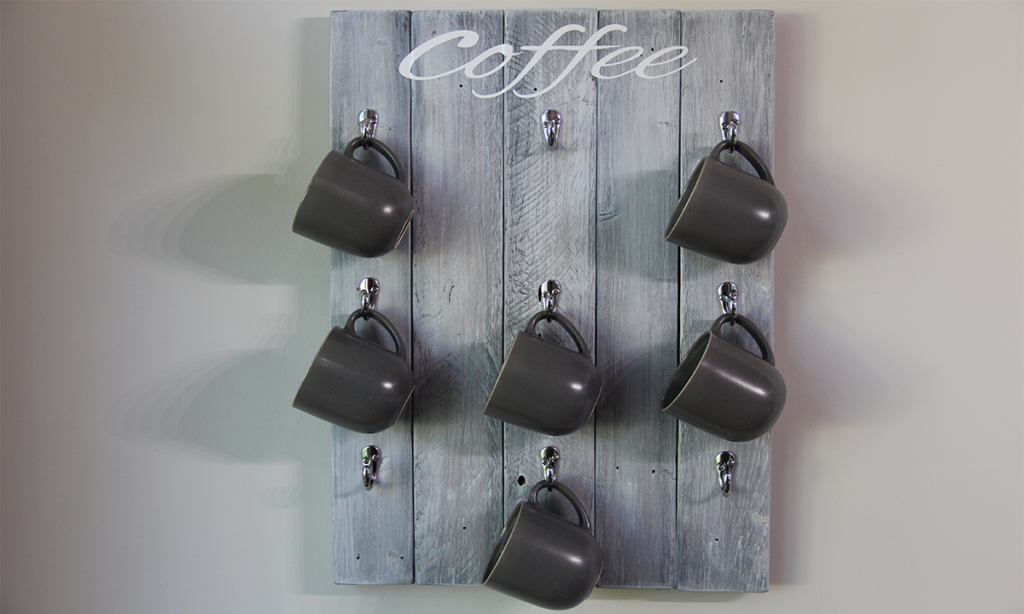

Looking for a place to show off your coffee mugs? With a little effort and by recycling wood from a pallet, we can make a really nice DIY Coffee Mug Holder!
This Do-It-Yourself Coffee Mug Holder project is a perfect way to display your favorite mugs or it makes a great DIY gift for your friends and family!
Follow along with the video or use the step-by-step instructions below.
Tool & Parts List:
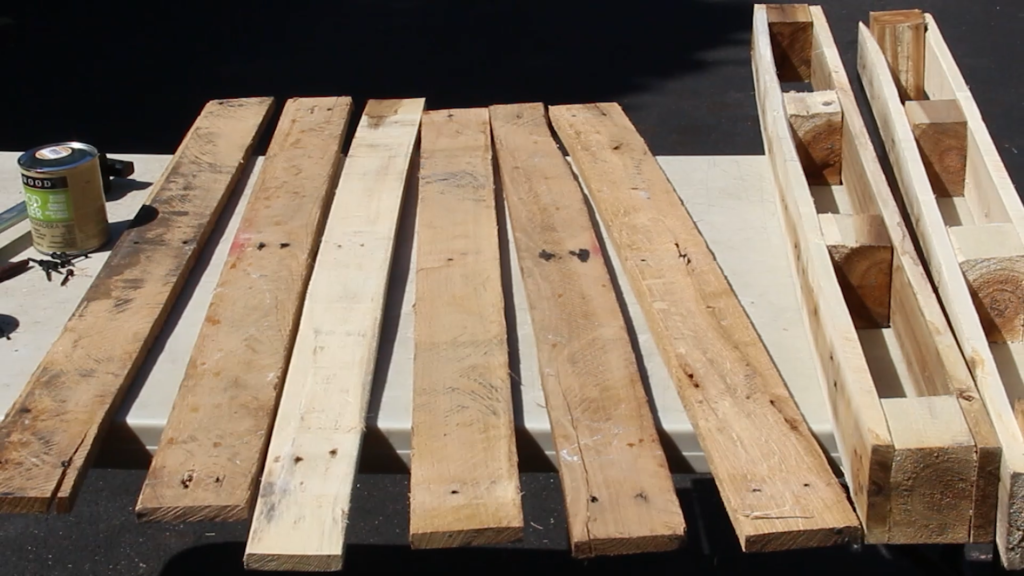
- Wood pallet (you can usually get a free one from a warehouse or business)
- 80 Grit Sandpaper
- Combination Square
- Coat Hooks, approximately 9
- Wood Screws
- Drywall Anchors
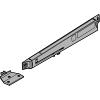
- Hanger Plates
- Circular Saw
Step By Step Instructions
Build the Panel
Step 1: First, disassemble a wooden pallet using a hammer and/or pry bar. Be sure to carefully pull out all of the nails.
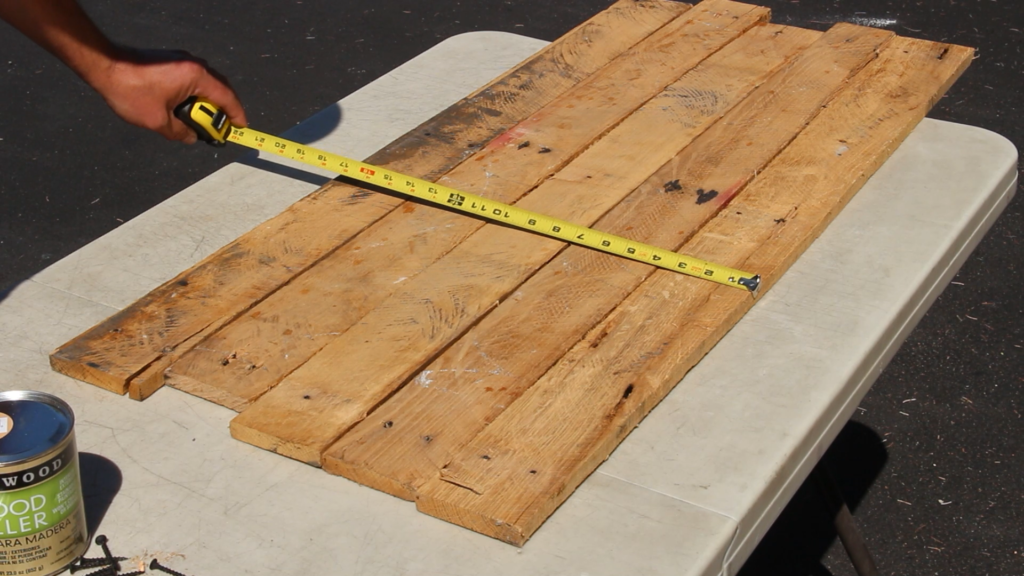
Step 2: Layout as many pieces that you will need to make your project. Our project consisted of (5) 3-½” wide pieces of wood totaling 17-½” wide when layed out together.
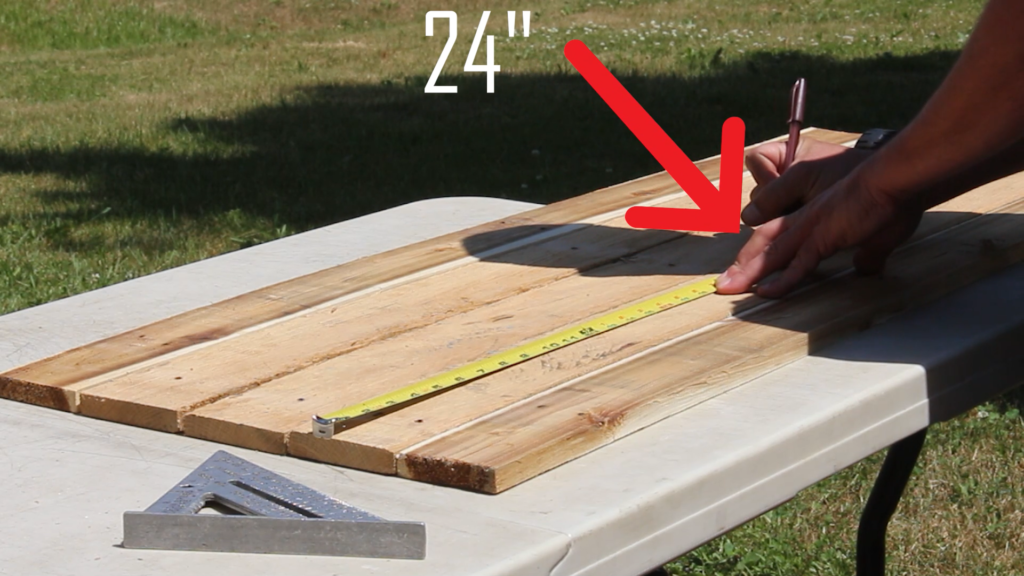
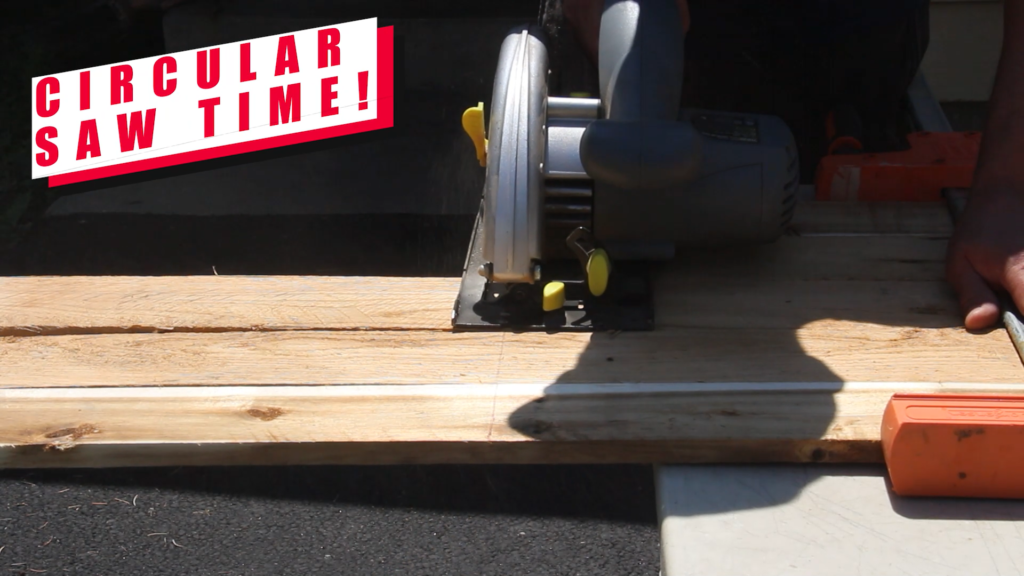
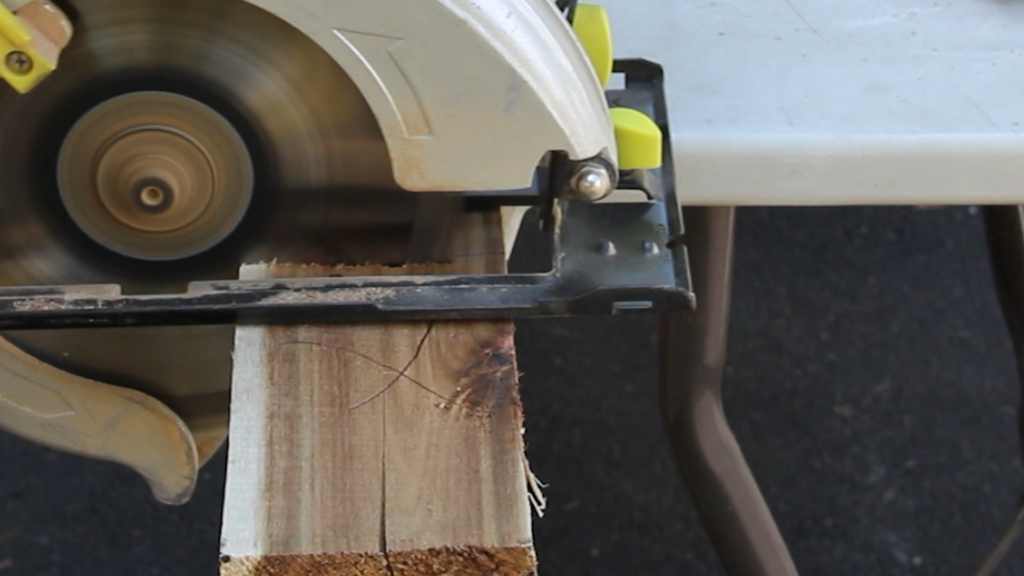
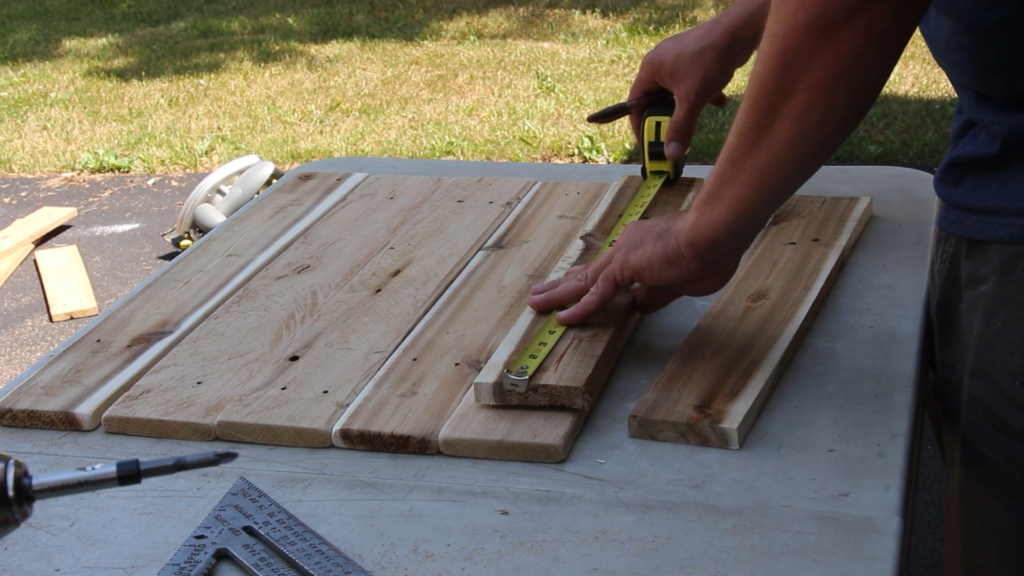
Step 3: Using a tape measure, measure and mark your wood pieces to lengths of about 24″ each. Cut the wood on the marks using a circular saw. Using a wood clamp will come in very handy when cutting the wood. Simply clamp the material down to your table to help safely keep the wood in place.
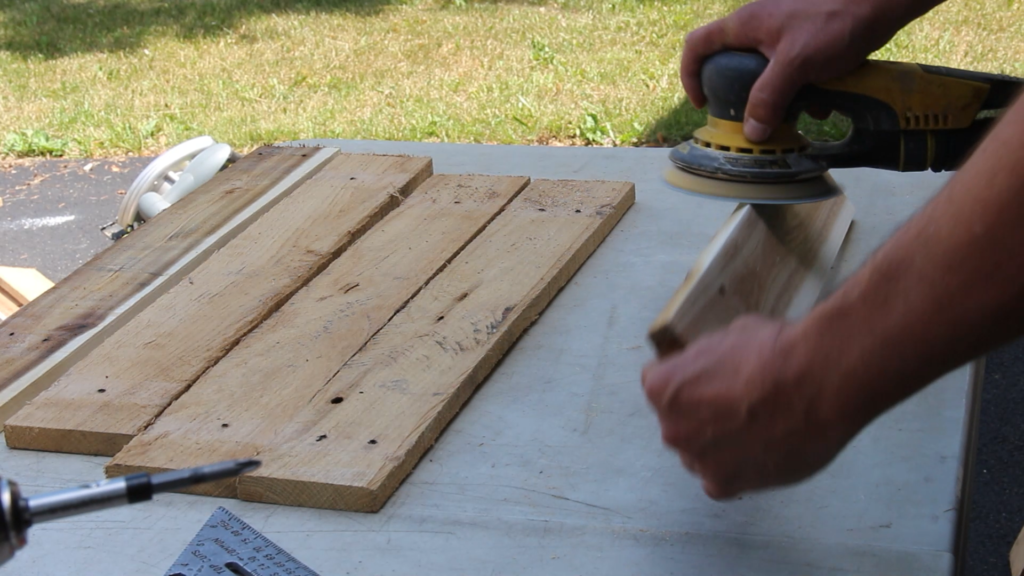
Step 4: Sand all of the pallet wood pieces with 80 grit sandpaper to remove roughness. An orbital sander, if available, makes quick work of this step. Sanding the wood helps make the wood look new, much smoother and easier to paint or stain later.
Lay the wood pieces down on your work surface with the best side of the boards facing down toward the table.
Step 5: Let’s measure some wood braces to hold our pallet wood pieces together. Measure the total width of your boards together side-by-side which should still be about 17-1/2″ and then subtract one inch from this measurement which should give us 16-1/2″. This will be the wood length we need to cut for our braces.
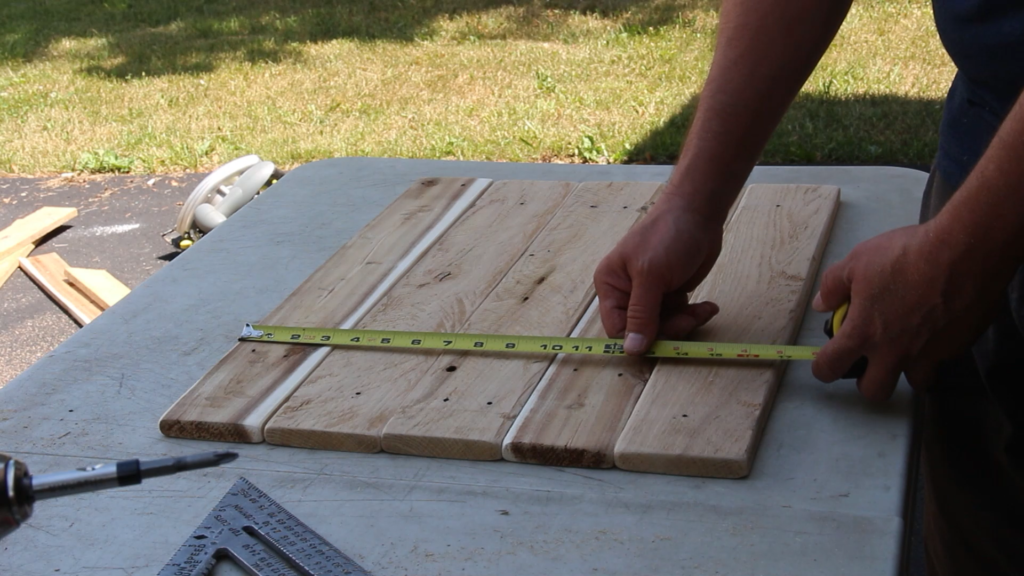
Step 6: We’ll cut (2) braces to hold everything together. Using another piece of the pallet wood or even leftover wood scraps from your previous cuts, measure and cut (2) 16-1/2″ long braces. Our pieces were about 16-½” by 3-½”.
Test the placement of the braces across all 5 boards to be sure everything lines up and the braces do not hang over the edges of the boards.
Step 7: In this step, we’ll attach our braces to hold our 5 boards together to make a single panel.
Our pallet wood is about 5/8″ thick so, by placing our wood braces onto the backs of the other boards, we now have a total thickness of 10/8″ (5/8″ + 5/8″ = 10/8″) or 1-1/4″. We’ll be using 1-1/8″ wood screws to attach the braces to the 5 boards.
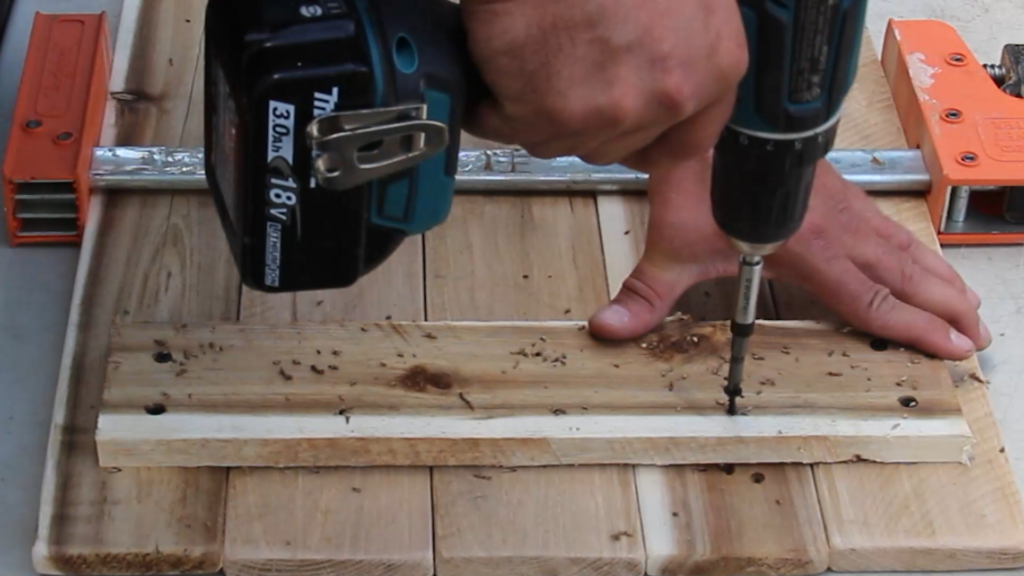
Insert a 1/8″ drill bit into your power drill. Measure about 5/8″ from the tip of your drill bit and place a piece of painter’s tape around your drill bit as a stopping point. We only want to drill through the thickness of the brace wood up to the edge of the tape mark when predrilling our holes.
Position one brace at the top and one at the bottom of our 5 board panel.
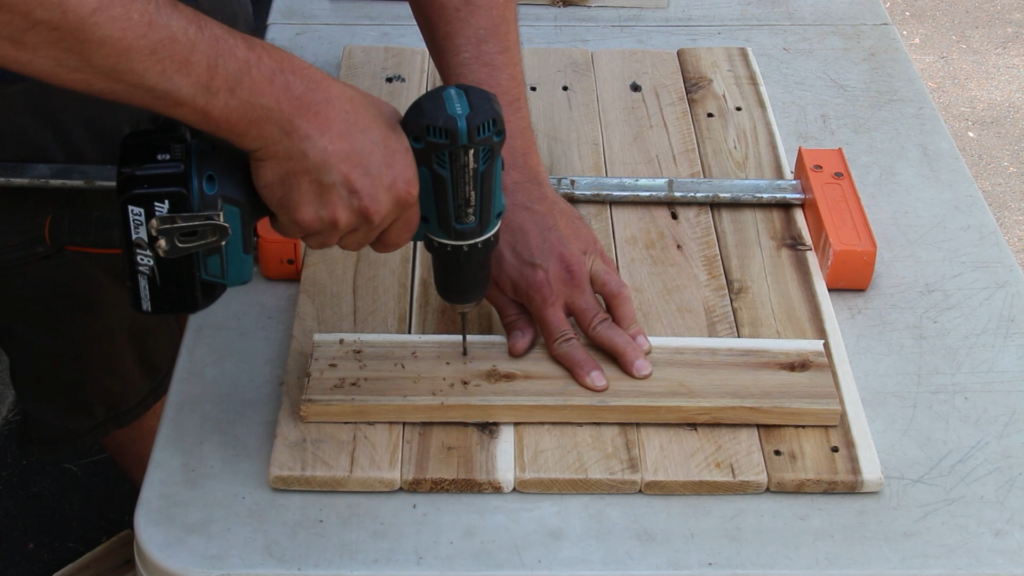
Predrill the first brace using a 1/8” drill bit only as deep as your tape mark on the bit. Make two holes in the brace for each of the 5 boards along the width of the brace (see images below). Repeat this step for the 2nd brace.
Then, using #8 x 1-1/8” wood screws, attach the braces to the backside of the 5 pallet boards. Do not drive the screws past level with the top of the wood. We want to avoid drilling completely through our pallet boards. Prior to screwing the braces in, use a little wood glue between the braces and the 5 boards to help permanently attach the braces.
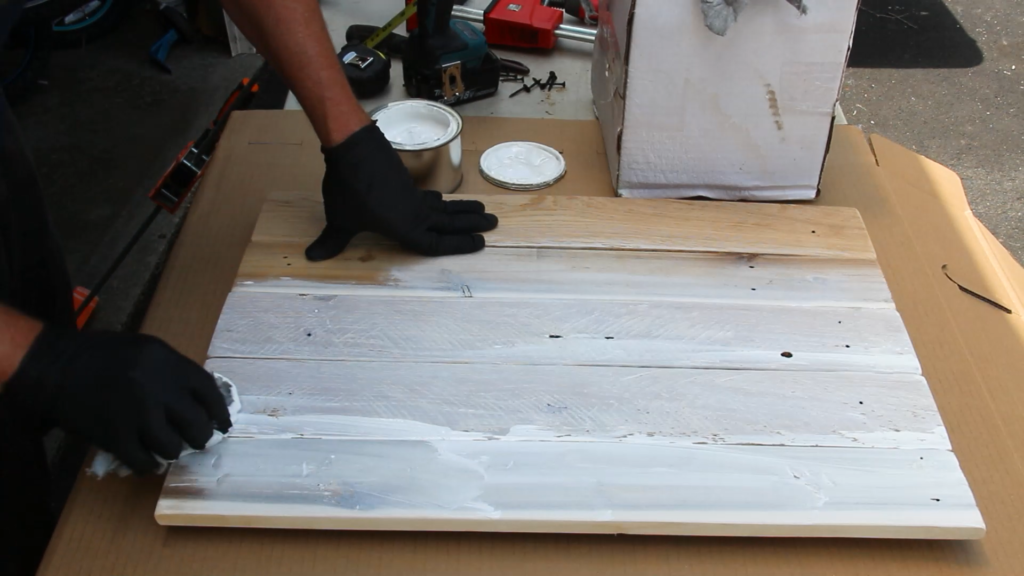
Step 8: Now, you are ready to add a finish to the project. I wanted to give my Coffee Mug Holder a weathered wood appearance. To do this, I chose to base stain the Coffee Mug Holder using an oil-based white stain and then follow that coat with some grey and black stain.
I applied the stain with clean cotton knit rags and wiped off the excess stain. Be sure to wear our premium paint and stain resistant nitrile gloves during this step to avoid skin contact.
I also added a little text to personalize my Coffee Mug Holder.
Install the Coat Hooks
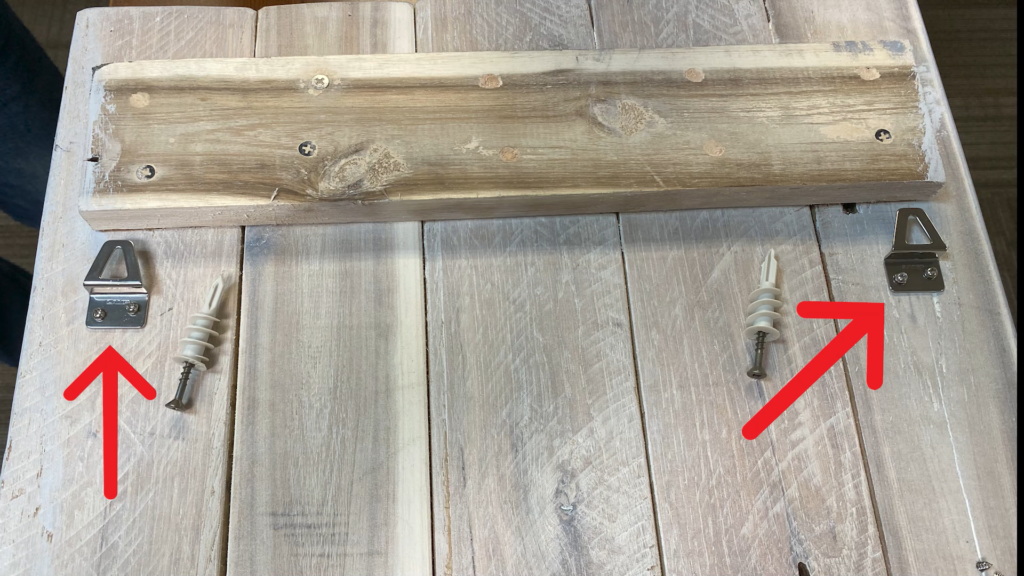
Step 9: After the panel is completely dry, install the wall hanger plates to the back of the Coffee Mug Holder. The main goal here is to evenly space the hangers from the top of the piece to ensure the Mug Holder will hang perfectly level. (Also in this photo are the drywall anchors and screws that will be used in the installation of the mug holder onto the wall.)
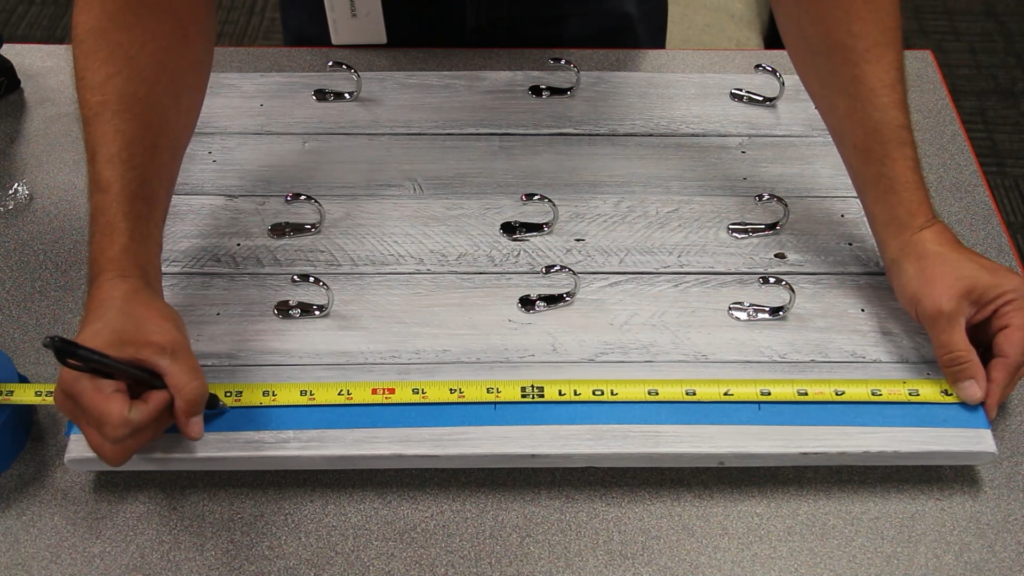
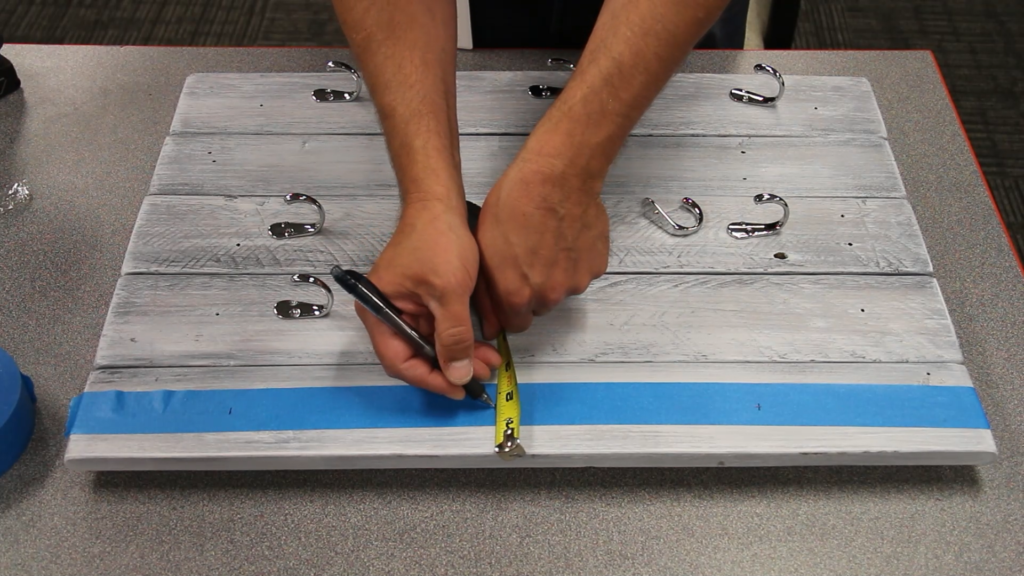
Step 10: Flip the panel over and layout the (9) coat hooks using your tape measure and painter’s tape.
Evenly or randomly space the coat hooks until you achieve the look you are seeking. I divided the rack into thirds and then centered the top part of the hook at the intersection.
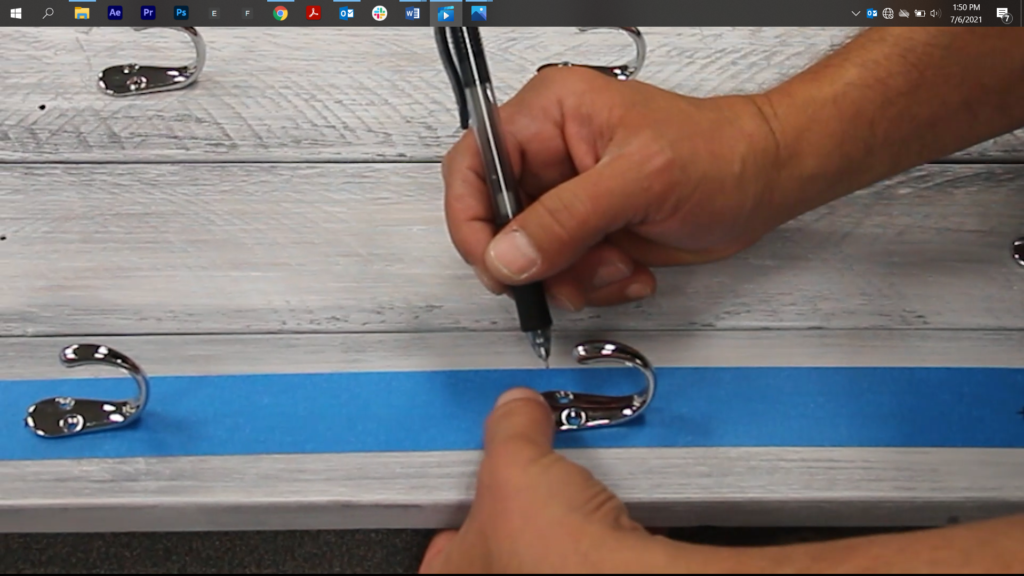
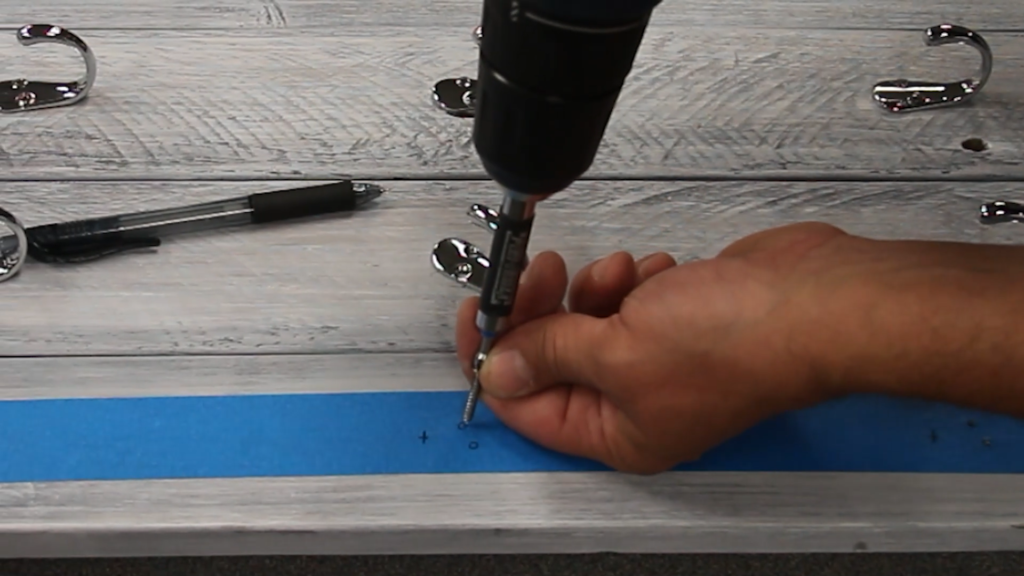
Place pieces of painter’s tape along the board where you will be marking and drilling your holes for the hooks. The tape will keep your newly painted board pristine.
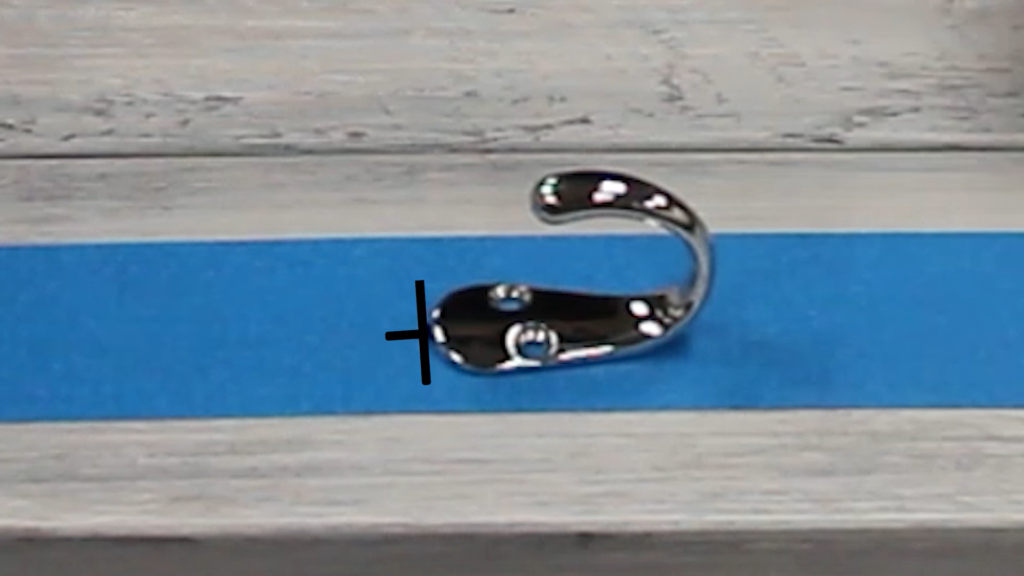
Step 11: Using a pen or a pencil, mark the placement of the hooks on the board. Then, place the hooks on the board and mark the screw holes in the hooks onto the tape. Remove the hooks from the project.
Using the 1/8” drill bit, drill a pilot hole through the tape for each screw hole you marked.
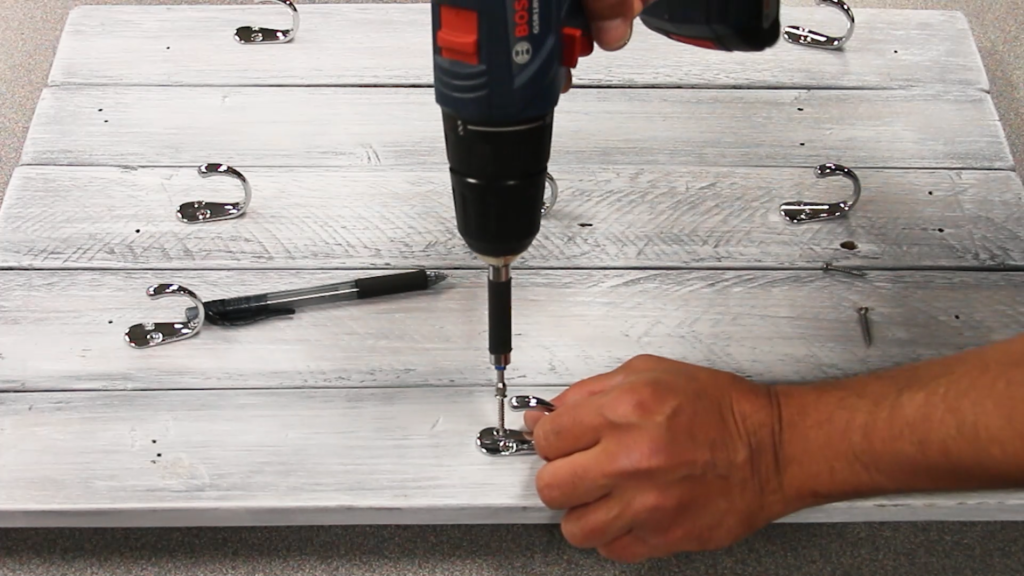
Remove the tape and screw each hook onto the board using the screws provided with the hooks.
Step 12: Measure the distance between your wall hanger plates on the back of your Coffee Mug Holder.
Step 13: Position the Coffee Mug Holder on a wall and mark the position where you will be screwing it to the wall.
If you positioned your Coffee Mug Holder to be mounted to a wall stud, screw 2″ screws into the wall stud leaving 1/2″ of the screw exposed to hold the Coffee Mug Holder.
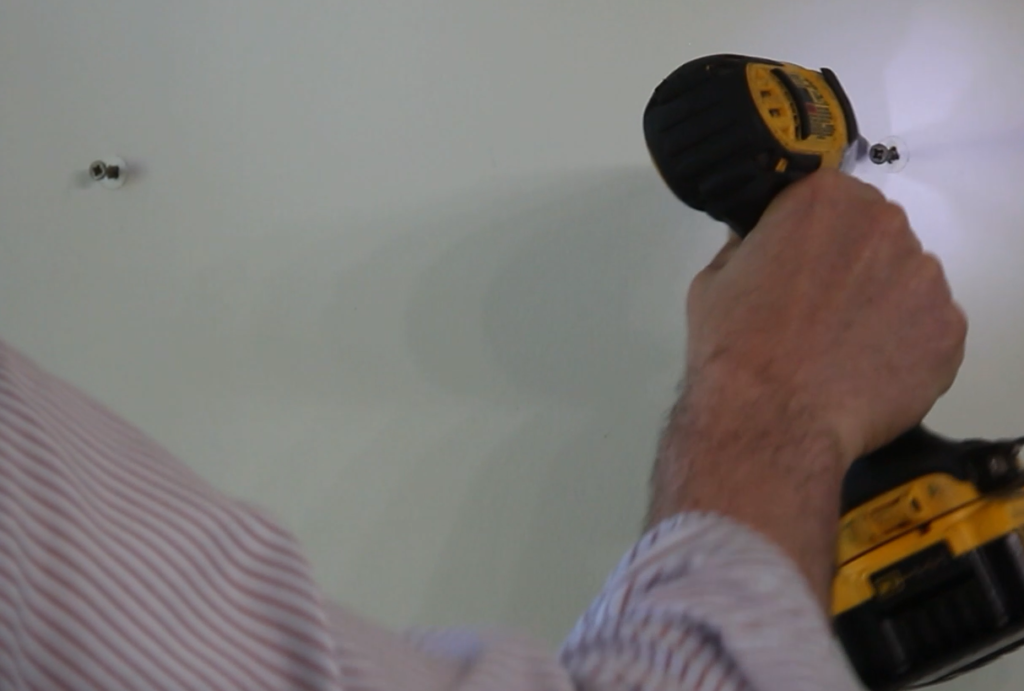
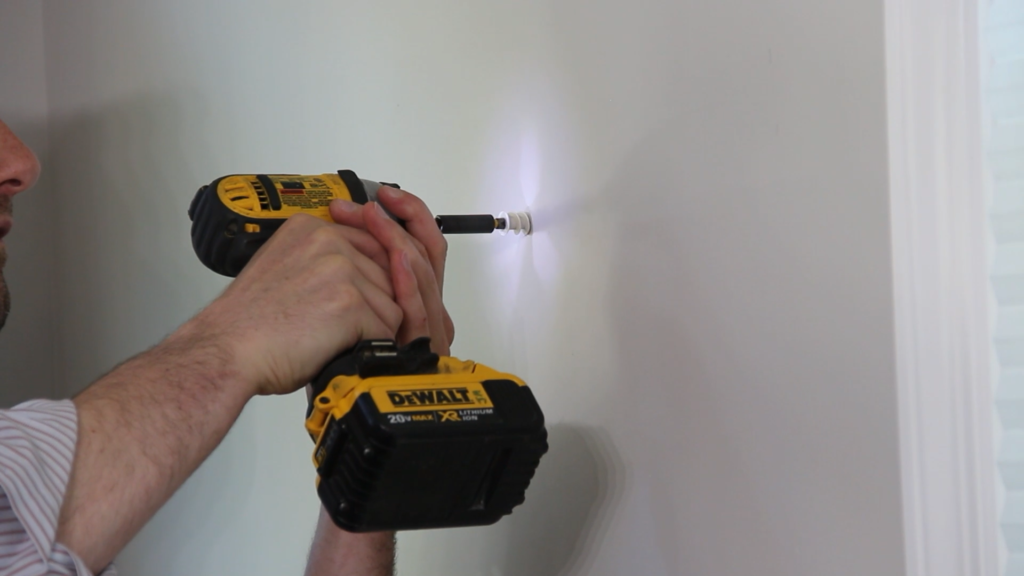
If you are not mounting your Coffee Mug Holder into wall studs, install drywall anchors into the wall. Screw 1-1/8″ screws into the anchors leaving approximately ½” of the screw exposed to accept the hangers on the back of the Coffee Mug Holder.
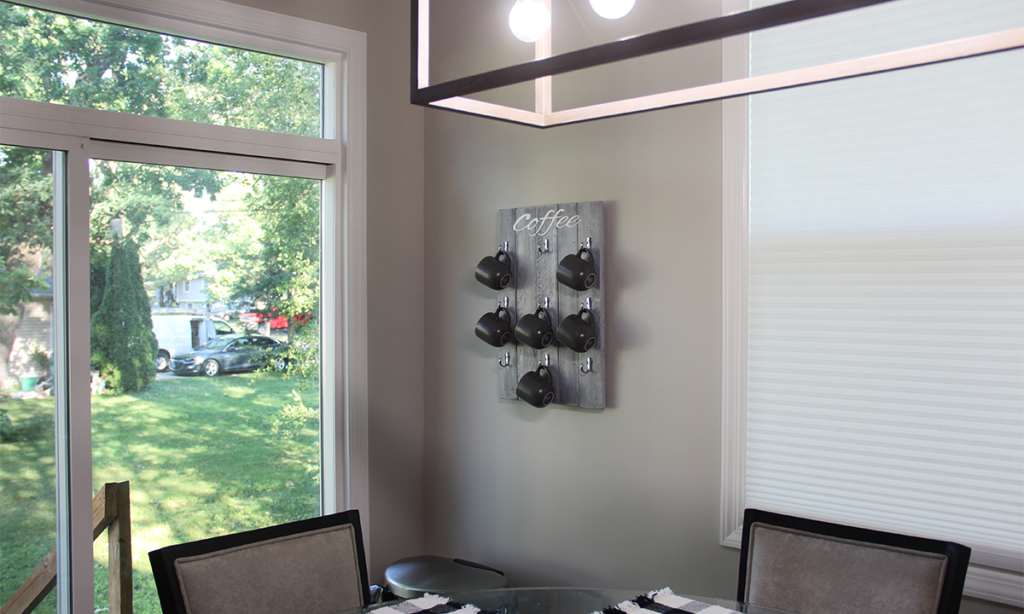
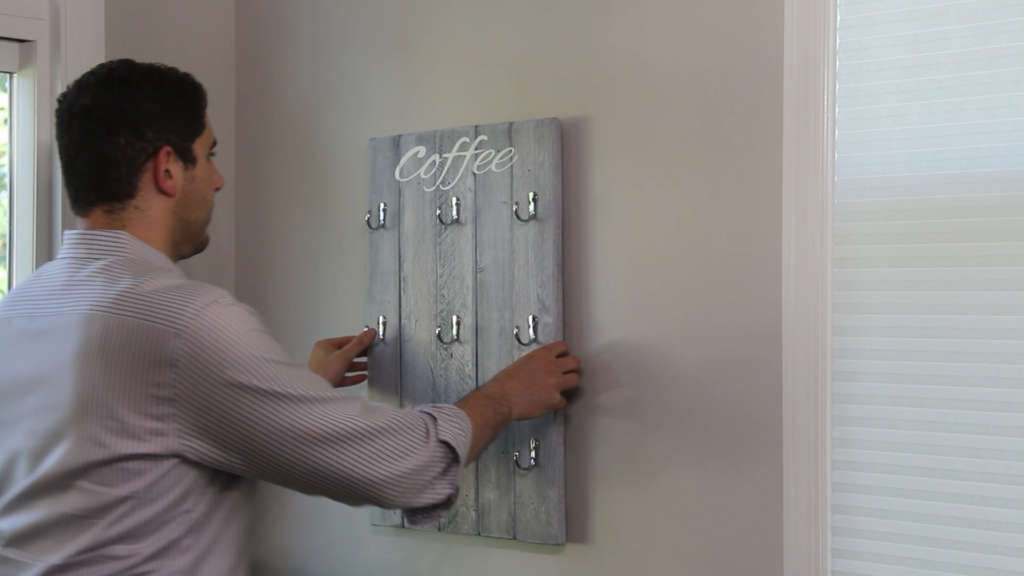
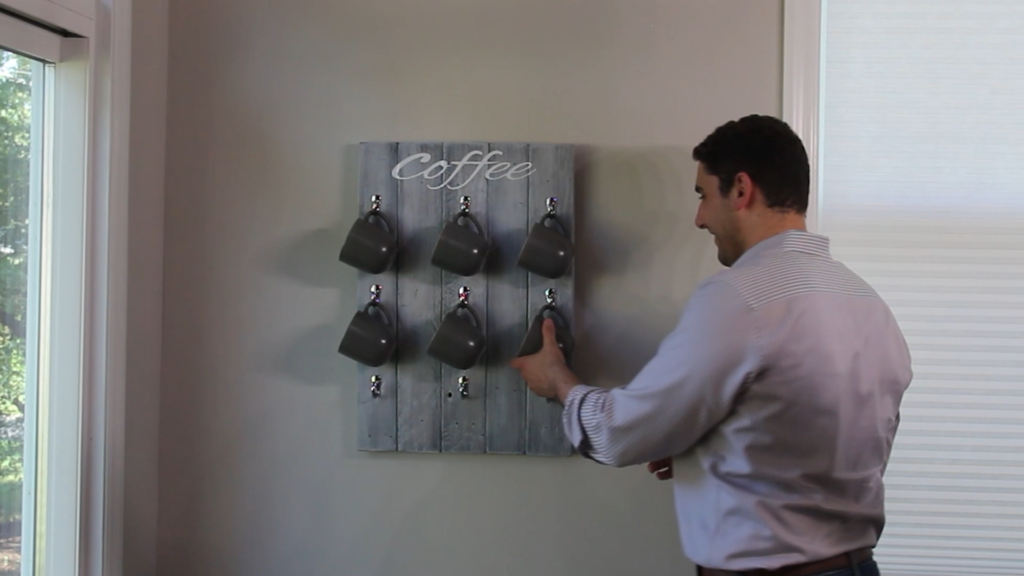
Step 14: Hang your new DIY Coffee Mug Holder onto the screws and fill it up with your favorite mugs!
Be sure to tag us on Facebook (@woodworkerexpress) or Instagram (@woodworkerexpress) with pictures of your finished Coffee Mug Holder project!

View the DIY Coffee Mug Holder How-To video on YouTube: https://youtu.be/sBgikJg0rpY





 Do Not Sell My Personal Information
Pingback: Day 22: Mugs {31 Days of Easy Decluttering} | From Overwhelmed To Organized