How to Sand and Finish Your First Woodworking Project

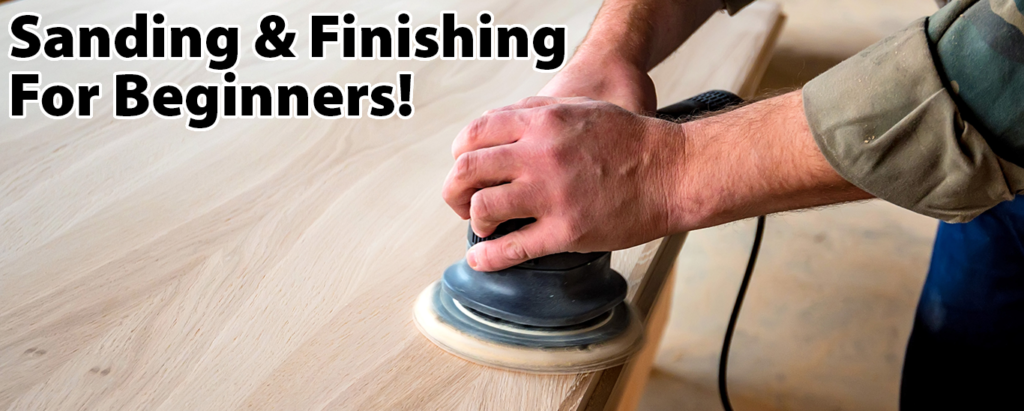
Man using an orbital sander on wood
Man Hands using an orbital sander on wood

Sanding and finishing are possibly the most important steps in any woodworking project, as they can help to smooth out rough surfaces, remove imperfections, and protect the wood from damage. For a beginner, this process can be very over whelming. Not to worry because In this blog post, I will walk you through the steps of sanding and finishing your first woodworking project, so you can achieve professional-looking results. (Fingers-Crossed)

Step 1: Gather your materials

Before you start sanding and finishing your project, make sure you have all the necessary materials. You will need:

  • Sandpaper: You will need a few different grits of sandpaper for different stages of sanding. For rough sanding, use a lower grit paper such as 80 grit. For medium sanding, use a medium grit paper such as 120 grit. For fine sanding or sanding of the finish coat, i like to use a higher grit paper around 320 grit.
  • An Orbital Sander and or a sanding block: A sanding block will help you apply even pressure and keep your sandpaper flat as you work. You can use a store-bought sanding block or make your own by wrapping sandpaper around a block of wood.
  • A dust mask: Sanding can create a lot of toxic wood dust, so it’s very important to protect your respiratory system by wearing a dust mask.
  • An air blower or a clean, dry cloth: You will need a clean, dry cloth to wipe away dust and debris as you work.

Step 2: Sand your project

Once you have gathered your materials, it’s time to start sanding your project. Begin by sanding with a low grit sandpaper (such as 80 grit) to remove any rough or uneven surfaces. Use long, even strokes if sanding by hand and apply moderate pressure. When you’re finished, wipe away the dust with a clean, dry cloth.

Next, switch to a medium grit sandpaper (such as 120 grit) and repeat the process. This will help to smooth out any remaining rough spots and prepare the surface for finisheing. Again, be sure to wipe away the dust with a clean, dry cloth when you’re finished.

Finally, depending on the project you can switch to a higher grit sandpaper (such as 150 grit) and give your project a final sanding. This will help to remove any swirls left by the sand paper.

Step 3: Prepare the surface for finishing

Before you apply a finish to your project, it’s important to make sure the surface is clean and free of dust and debris. Use a clean, dry cloth to wipe away any remaining dust and then allow the project to dry completely.

Step 4: Apply the finish

There are many different types of finishes you can use on your woodworking project, including oil, varnish, and polyurethane. Each type of finish has its own unique properties, so it’s important to choose the one that best suits your project. If this is your first ever project, i would highly reccomend and oil finish such as Tung oil. It is very forgiving and will not leave drips or sags thanks to the fact that the oil is absorbed into the wood.

To apply the finish, follow the manufacturer’s instructions carefully. In general, you will want to start by applying a thin, even coat of tung oil onto your project. Let it dry and repeat!

Step 5: Allow the finish to cure

After you have applied the final coat of finish, it’s important to allow the finish to cure completely before using or handling your project. Curing times will vary depending on the type of finish you are using, so be sure to follow the manufacturer’s instructions for the specific product you are using.

During the curing process, the finish will harden and become more durable. This is an important step, as it will help to protect your woodworking project from damage.

Step 6: Sand and buff the finish

Once the finish has cured, you can give your project a final sanding and buffing to remove any imperfections and create a smooth, professional-looking finish.

To sand out the finish, use can use a higher grit sandpaper (such as 320- 400 grit) and apply light pressure. Wipe away the dust with a clean, dry cloth when you’re finished.

++Optional++To buff the finish, use a soft, lint-free cloth and apply a small amount of buffing compound. Rub the compound into the surface in a circular motion until the finish is smooth and shiny.

Step 7: Enjoy your finished project!

Congratulations! You have successfully sanded and finished your first woodworking project. Take a moment to appreciate your hard work and the beautiful finished product. With practice and patience, you will continue to improve your skills and create even more impressive projects in the future.

I hope this blog has helped you understand the process of sanding and finishing a woodworking project. With these steps in mind, you will be well on your way to creating beautiful, professional-looking pieces that you can be proud of. For more Woodworking knowledge check out this video.

Everything You Need To Get Started With Woodworking

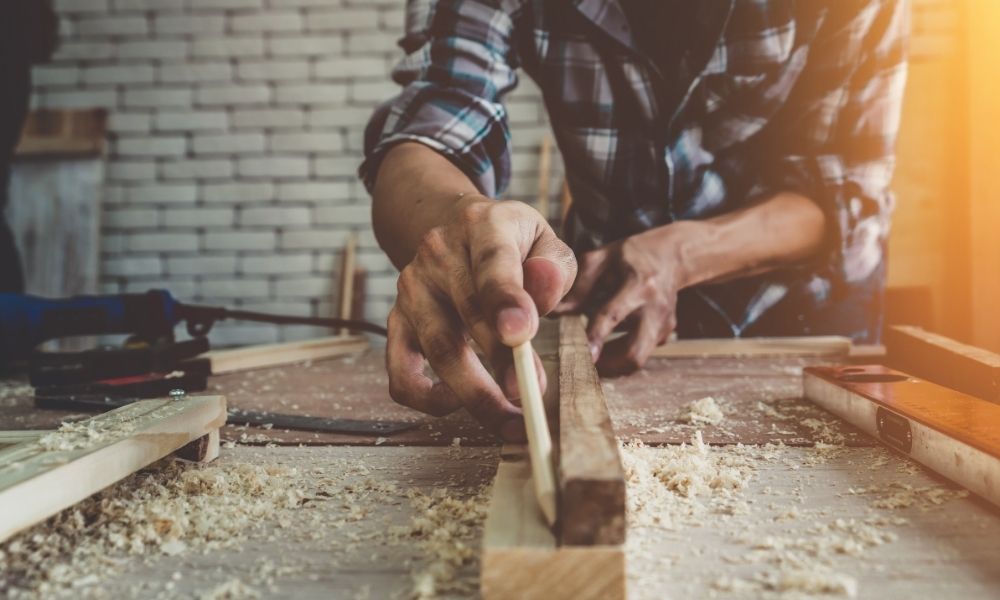
Woodworker measuring and marking his project
Measure twice and cut only once

Sometimes getting started is the hardest part when we decide on a new hobby or possibly even a business. Woodworking can be relaxing, and the end results of the creativity and hard work are worth the effort. Let’s discuss everything you need to get started with woodworking.

What Will You Create?

When choosing how to begin woodworking, the first step is having a rough idea of what you will be creating.

This may change with time as you progress and expand, but having a pretty good idea of how large your projects is necessary in deciding on the space and tools you need.

Small accessories, toys, and utensils projects don’t take up much space or require a large saw. However, a dresser or table will.

Create a Space

Hobbies that actually get done are the ones with a designated space for doing so.

Check out your garage and basement for any nook you can find to setup shop. An outdoor shed might also work.  

Keep in mind, woodworking creates a lot of dust. It isn’t a hobby you can just quickly work on at the kitchen table (unless you enjoy a dusty dinner). Decide on a space that can handle the mess you are about to make.

Work Surfaces

The next step after finding the perfect space is to create areas where wood can be placed while it is being worked with.

A couple of sawhorses with a sheet of plywood on top will usually do the trick.

A workbench is a must for small projects and intricate detailing. The workbench is a permanent fixture you will find yourself using over and over for more than just woodworking.

Keep tools handy near the work bench and hung on pegboard or placed on shelves above it, for quick and easy fixes. 

Saws

Woodworking is not going to happen without a variety of saws to cut the wood. They are quite an investment, but you build your collection over time. Here are five great saws to have in your woodworking toolbox.

Hand Saw

A classic staple for every woodworker, the hand saw will forever be needed. The Hand saw, as its name suggests is a manual tool.

Hand saws take on a few different forms, and each one is designed for quick cuts when there is no need to turn on a power tool.

  • Ripping handsaw — cuts lengthwise with the grain
  • Crosscut handsaw — cuts across the grain
  • Combination handsaws — cuts both with and across the grain
  • Backsaw — rectangular blades for miter cuts
  • Keyhole handsaw — for interior holes
  • Dovetail — for dovetail joint work

Jigsaw

Also recommended for beginners, the jigsaw is a hand-held power tool that can make intricate and curved cuts for beautiful detailing on your wood project.

The jigsaw uses a reciprocating blade to cut irregular curves. A reciprocating blade moves up and down. The jig saw is weak in that the lower end of the blade is unsupported. The user guides the saw to cut but has to be careful not to force the direction of the blade too much.

Circular Saw

The handheld circular saw is a power tool that uses different blades which can be interchanged for different types of cuts. Each blade has different teeth for the type of cuts you are making. It is extremely handy for quick, large cuts.

  • Ripping blade — for cutting lengthwise
  • Crosscut blade — cut across the grain (width)
  • Combination blade — ripping and cutting (both with and against the grain)

Table Saw

As a beginning woodworker, a good larger powered saw to invest in is a table saw. It works similarly to the circular saw, but from a different angle.

Rather than the saw coming down on the wood, the blade from the table saw comes up from the table and the wood is placed on top of it. This eliminates a lot of work and makes long precision cuts a bit easier.

Table saws offer different types of blades for different cuts.

They also can be portable or permanent.

  • Benchtop table saw — Noisiest of all the benchtop table saws, but lightweight, compact and portable.
  • Cabinet table saw — Heavy and made to stay put, they can handle every project. These make a stately centerpiece to your woodworking shop.

Band Saw

A band saw is a power tool, perfect for intricate, curvy woodworking cuts. It consists of a continuous band of toothed metal stretched between two or more wheels to cut material.

Unlike the jigsaw where you guide the saw to cut the wood, a band saw stands stationary and a wood piece is guided against the cutting blade to make the cuts.

They come in a few sizes and make a great addition when it is time to get detailed beyond using a jigsaw.

Sanding

Filing, sanding, and planes all fall under the same category: to smooth or shape the wood for woodworking projects. There are a few different options for each.

Filing

Files are hand tools used for smoothing and are made of metal, giving them a longer life than sandpaper.

Once dull, they don’t sharpen well, so it is best to replace them.

Sanding

Handheld electric sanders are a time saver and a hand saver. A lot of sanding makes a hand sore.

They come in different sizes and power and can alternate between different grades of sandpaper.

Sanding sponges and sandpaper are necessary to have on hand for quick, small projects or intricate details.

Planes

Planes don’t just smooth the wood, but they actually remove some of the wood by scraping pieces off. It is more of a shaving process than a smoothing one as the blade on the plane shaves thin slices off the surface of the wood.

There are several different types of planes.

  • Jack plane — removes a lot of wood at once
  • Block — for intricate, small spaces
  • Rabbet — for right angle grooves
  • Scraper — finely scrapes for smooth finishes
  • Spokeshaves — designed for curves

Measuring Tools

Please don’t “wing it” with woodworking. Taking the time to measure properly from the beginning saves you time from having to fix mistakes later.

There are four measuring tools to keep handy while woodworking. These include:

  • Retractable steel tape measure — handy in every way with the stiffness of steel and a hook on the end for easy measuring
  • Yard stick — great for straight edge measuring and line drawing with a pencil
  • Flexible reel tape — a must when a bendable measure for corners and curves is needed
  • Folding measure — highly accurate and stiff like a yard stick, these fold into multiple sections for easy storage

Hammer and Mallet

A basic hammer has a double-duty steel head with one end basically designed for hammering in nails and the other for pulling them out. A hammer should be a standard tool in everyone’s home, not only woodworkers.

A mallet is different than a hammer, although they are both used for striking. Rather than a steel head, the head is rubber, leather, or wood. The head is sometimes detachable to accommodate multiple sizes.

A mallet is used when a hard strike is needed but damage needs to be prevented. That is why they are made with a softer material head. The shock to the wood is softer than a steel head hammer.

Power Drill

A power drill will become your right-hand man in woodworking, for drilling quick holes and driving screws.

This is a general idea of everything you need to get started with woodworking. Build your collection slowly and enjoy creating heirlooms you can be proud of.

Woodworker Express offers woodworking tools for sale to provide you with everything you need to get your woodworking shop up and running.

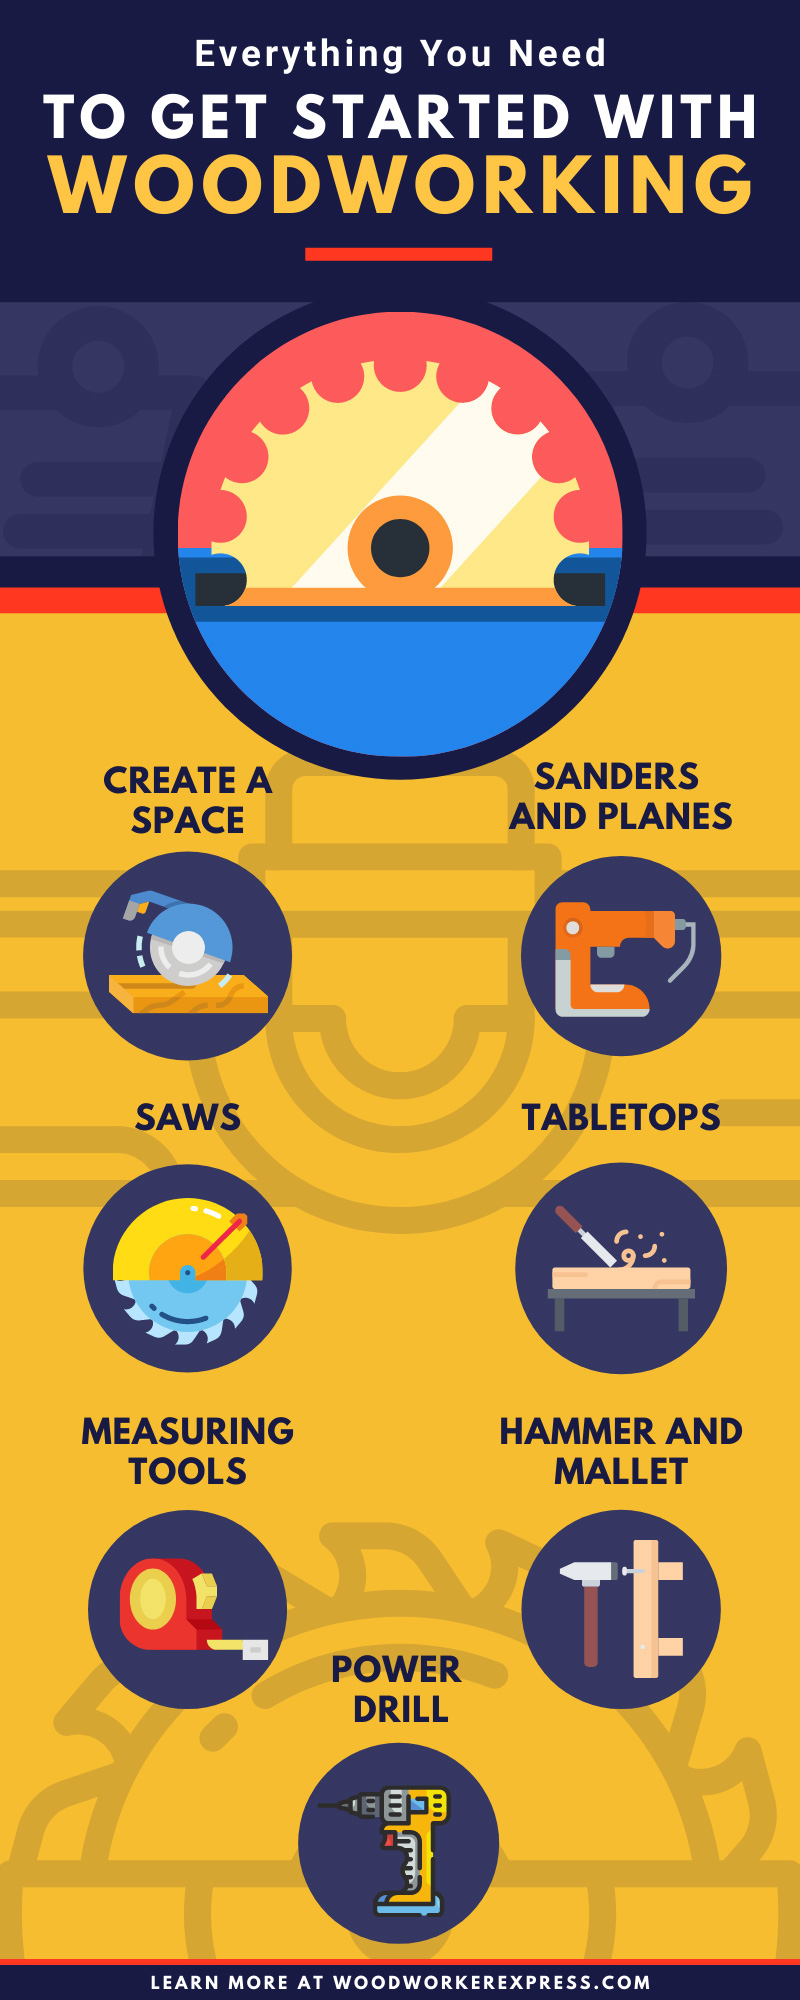
Infographic of Everything you need to get started with woodworking