


The X-Series Bracket System helps homeowners upgrade cabinets with rollout shelves that are easier to reach, organize, and use. Installation comes down to three main steps: install the pilasters, fasten the brackets to the slides, then lock the rollout shelves into place.
Most standard cabinet depth and hinge combinations work with the standard X-Series installation process. For less common cabinet layouts, a few simple adjustments can help the system fit properly.
Quick Skim: X-Series Bracket Installation
| Step | What to Do | Why It Matters |
|---|---|---|
| 1 | Install the pilasters | Creates the mounting points for the slide brackets |
| 2 | Fasten brackets to the slides | Connects the X-Series hardware to the undermount slides |
| 3 | Install the rollout shelves | Locks the shelves onto the slides for smooth access |
| 4 | Check operation | Confirms the shelves move smoothly and sit level |
What Is the X-Series Bracket System?
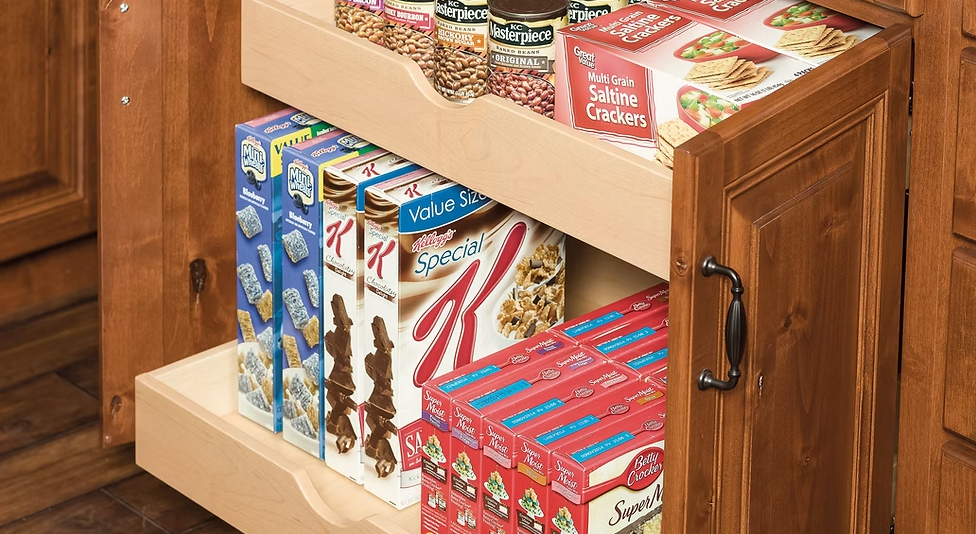
The X-Series Bracket System supports rollout shelving inside cabinets. For homeowners, that means less reaching, less digging, and better access to items stored in deep spaces.
Rollout shelves work well for:
| Cabinet Area | Common Uses |
|---|---|
| Kitchen base cabinets | Pots, pans, lids, mixing bowls, small appliances |
| Pantry cabinets | Cans, dry goods, snacks, baking supplies |
| Bathroom cabinets | Towels, toiletries, cleaning supplies |
| Laundry rooms | Detergent, sprays, cloths, household products |
| Utility cabinets | Tools, bags, gloves, pet supplies |
The system is built to make cabinet organization easier while keeping installation straightforward.
Step 1: Install the Pilasters
Start with the front pilaster.
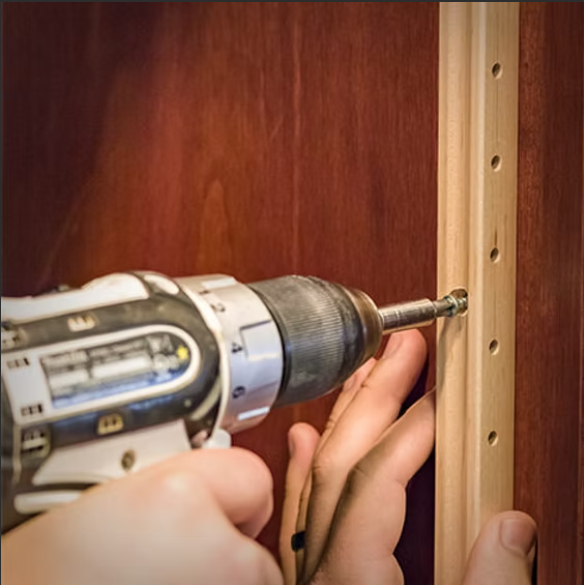
Use the X-Series Simple Installation Jig to position the front pilaster inside the cabinet. Once it is aligned, fasten the pilaster to the cabinet side through the pre-drilled screw holes.
Next, rotate the jig 90 degrees. Use it to position the rear pilaster, then fasten the rear pilaster to the cabinet wall.
Repeat the same process on the other side of the cabinet.
Why Pilaster Placement Matters
The pilasters hold the bracket pins in place. If the pilasters are straight, even, and properly spaced, the rollout shelf will move more smoothly.
Poor pilaster placement can cause:
| Issue | Result |
|---|---|
| Uneven spacing | Shelf may sit crooked |
| Misaligned pilasters | Slide may bind or drag |
| Loose fasteners | Shelf may feel unstable |
| Wrong height | Shelf may not line up with the opening |
Take your time on this step. Good alignment makes the rest of the installation easier.
Step 2: Fasten the Brackets to the Slides
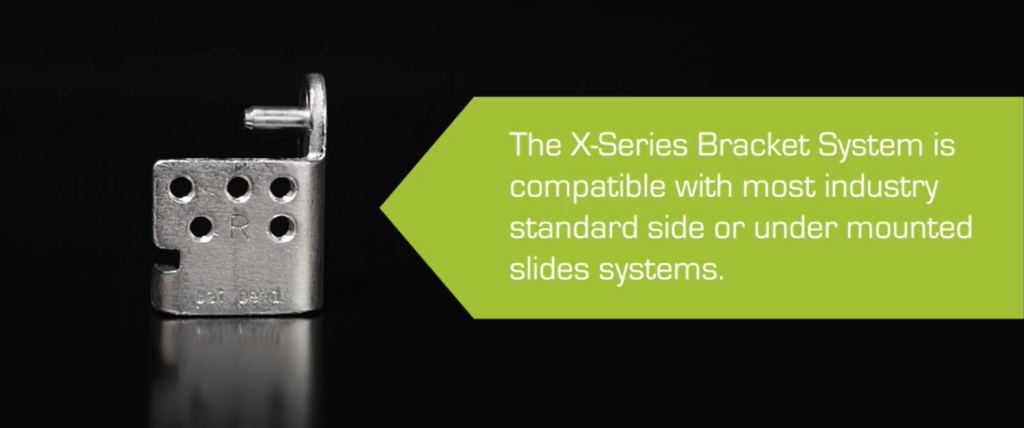
Before fastening the brackets, identify the right and left brackets.
Each bracket is marked:
| Marking | Meaning |
|---|---|
| R | Right bracket |
| L | Left bracket |
Next, separate the front brackets from the rear brackets.
| Bracket Type | How to Identify It |
|---|---|
| Front bracket | Shorter pin and 90 degree retention tab |
| Rear bracket | Longer pin and no retention tab |
Mount the brackets to the undermount slides with the pins facing the rear.
For the screw pattern, use the center vertical holes on the bracket and the last set of vertical holes on the undermount slides at the front and rear.
Homeowner Tip
Lay the brackets and slides on a flat surface before fastening. Confirm the left and right sides, front and rear brackets, and pin direction before driving screws.
This small check can prevent rework.
Step 3: Install the Rollout Shelves
Place the slides at the desired height inside the cabinet.
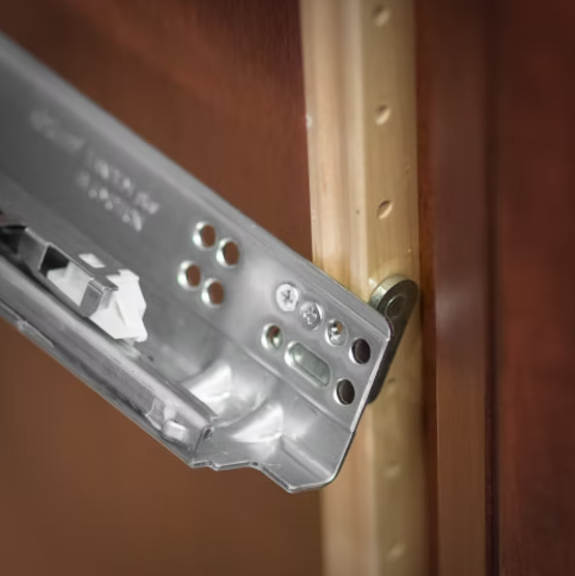
Insert the bracket pins into the pre-drilled holes. Release the slide so it can rotate and lock into position.
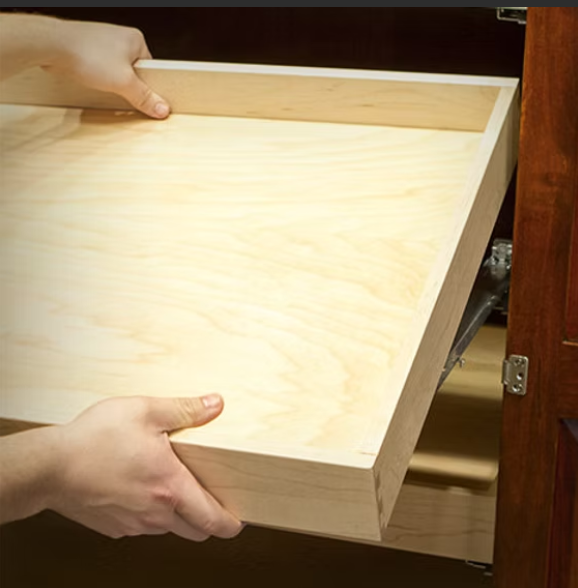
Once both slides are locked in place, set the rollout shelf onto the slides. Let the shelf lock onto the slide hardware.
Test the shelf by pulling it out and pushing it back in several times.
Step 4: Check the Final Fit
After installation, check the shelf movement and alignment.
| What to Check | What You Want |
|---|---|
| Slide movement | Smooth pullout and return |
| Shelf position | Level from side to side |
| Bracket pins | Fully seated in the pilasters |
| Shelf lock | Secure connection to the slides |
| Door clearance | Shelf clears hinges and cabinet doors |
If the shelf rubs, binds, or feels uneven, check the pilaster alignment and bracket placement first.
Average Installation Time
Installation time depends on cabinet layout, hinge style, and your comfort with basic tools.
| Cabinet Type | Average Installation Time |
|---|---|
| Base cabinet | Under 5 minutes |
| Pantry cabinet | Under 10 minutes |
Cabinets with unusual depths, tight hinge clearance, or non-standard construction may take longer.
Common Installation Mistakes to Avoid
Mixing Up Right and Left Brackets
Check the R and L markings before fastening brackets to the slides.
Confusing Front and Rear Brackets
Front brackets have the shorter pin and 90 degree retention tab. Rear brackets have the longer pin and no retention tab.
Pointing the Pins the Wrong Way
The bracket pins should face toward the rear when attached to the slides.
Skipping the Height Check
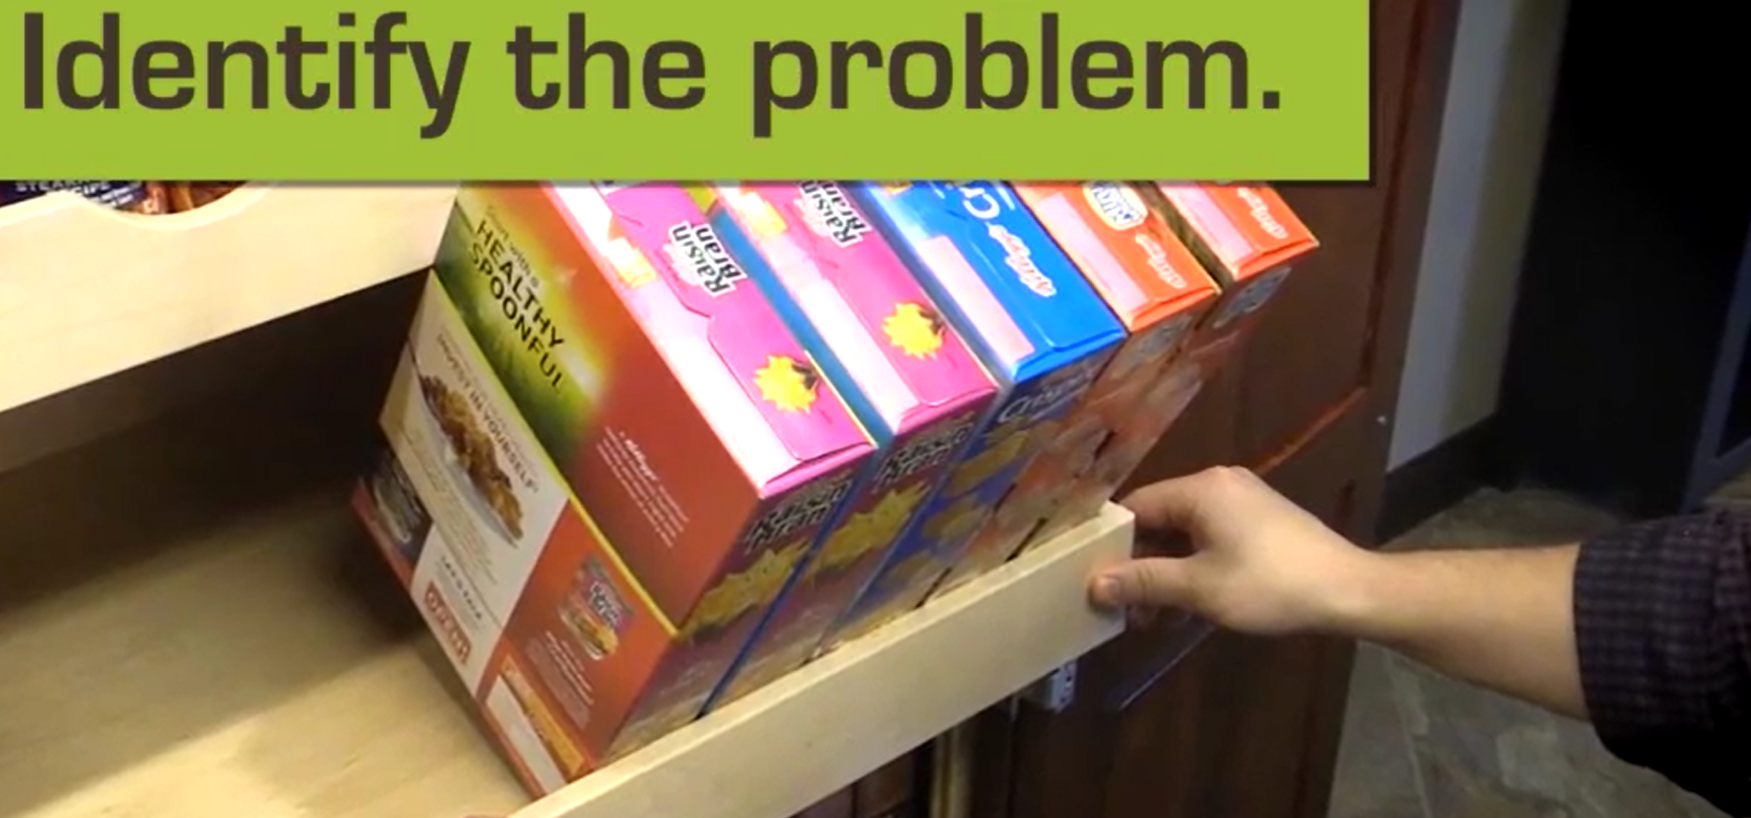
Make sure both slides sit at the same height before locking the shelves in place.
Rushing the Pilaster Layout
The pilasters create the foundation for the whole system. Measure carefully and keep both sides aligned.
Final Takeaway: X-Series Bracket Installation
The X-Series Bracket System gives homeowners a simple way to add rollout shelves to cabinets. Start by installing the pilasters, attach the correct brackets to the slides, then lock the shelves into place. With careful alignment and the right bracket orientation, you can turn deep cabinet spaces into easier, more useful storage.