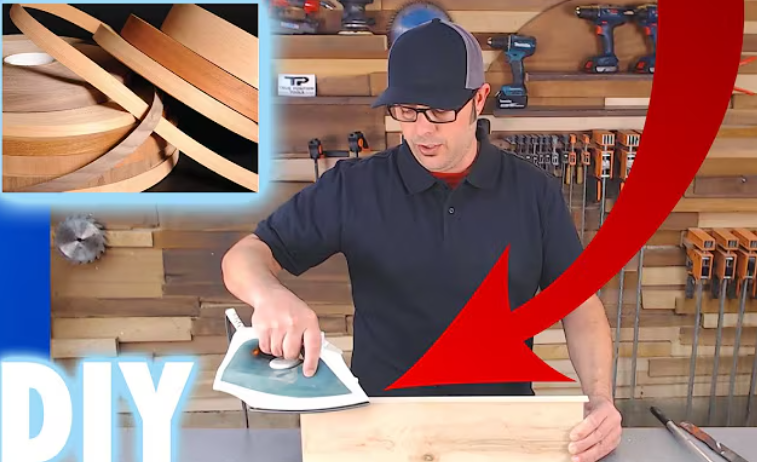

Real wood edgebanding is an easy way to hide exposed plywood edges and give a project a clean, solid wood look. With pre-glued wood veneer edgebanding, you do not need special machinery or complicated adhesives. A household iron, a roller, a file, and a little sandpaper can handle the job.
In our video tutorial, learn how to apply Edgemate pre-glued real wood edgebanding to veneer-core plywood.
The key is simple: choose edgebanding slightly wider than your panel, heat the adhesive evenly, press the veneer firmly in place, let it cool, and trim the excess.
Quick Skim: How to Apply Real Wood Edgebanding
| Step | What to Do | Key Tip |
|---|---|---|
| 1. Choose the right width | Select edgebanding slightly wider than your plywood | For 3/4-inch plywood, 13/16-inch edgebanding gives you room to trim |
| 2. Cut the edgebanding | Leave about 1/4 to 1/2 inch of extra length | Extra material makes final trimming easier |
| 3. Heat the adhesive | Use a hot household iron to activate the pre-applied glue | Keep the iron flat and moving |
| 4. Press it down | Use a J-roller to apply firm, even pressure | Be careful near the edges of the veneer |
| 5. Let it cool | Allow the glue to set before trimming | Trimming too soon can shift the veneer |
| 6. Trim the excess | Use a file, razor knife, edge trimmer, or sander | A file offers good control for DIY projects |
| 7. Finish the edge | Lightly sand and soften sharp corners | Avoid sanding through the thin wood veneer |
What Is Real Wood Edgebanding?
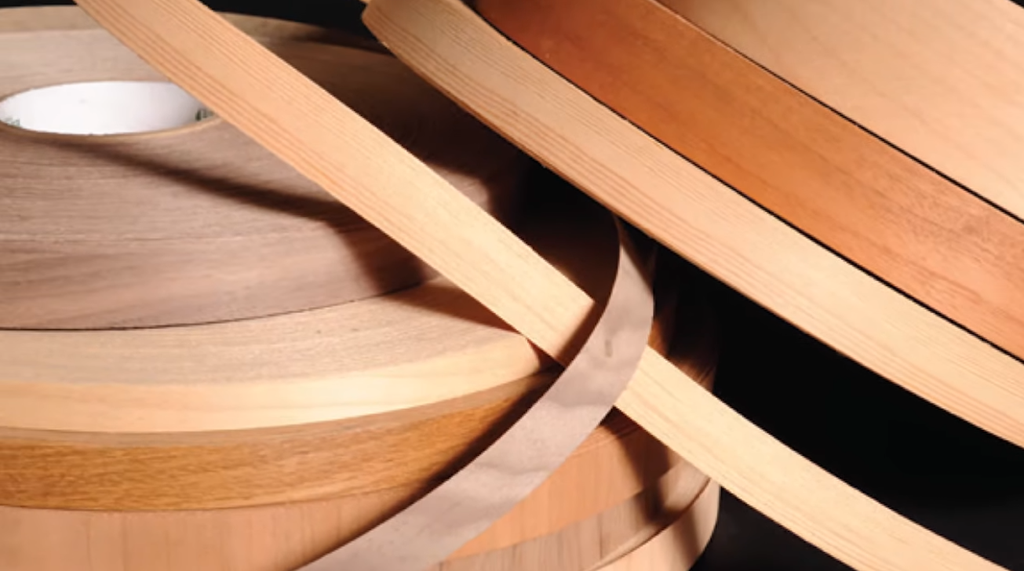
Real wood edgebanding is a thin strip of wood veneer used to cover the exposed edges of plywood and other sheet goods.
Without edgebanding, the individual plywood layers remain visible. Covering them creates a finished edge that looks much closer to solid wood.
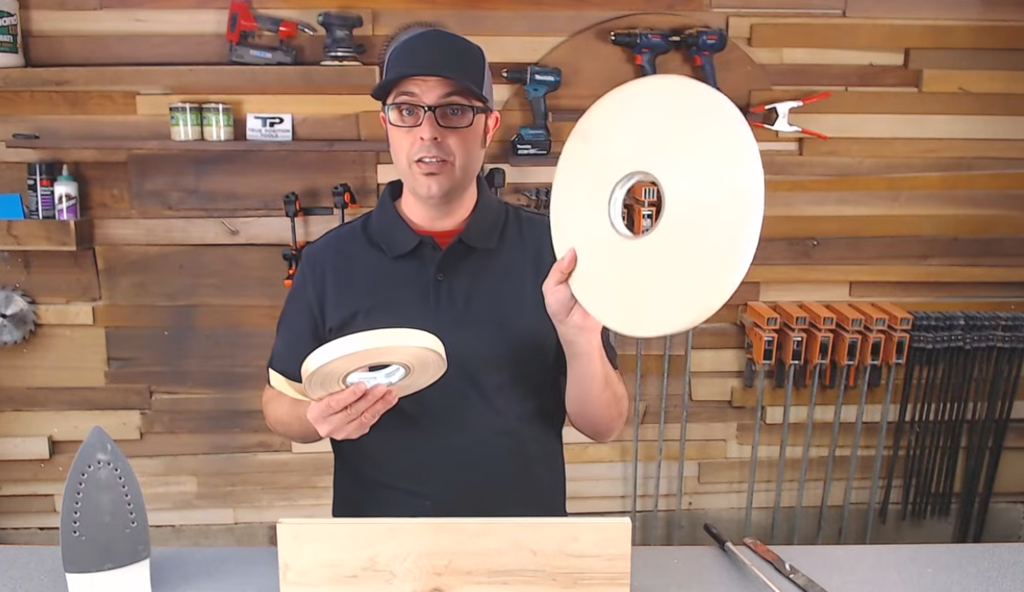
Edgemate pre-glued real wood veneer comes with hot-melt adhesive already applied to the back. Heat activates the adhesive, so you can install it with a standard household iron.
It is also available in a range of wood species and widths, which makes it easier to match the edge to the face of your project.
What You Need to Apply Pre-Glued Wood Edgebanding
You only need a few basic tools:
- Pre-glued real wood edgebanding
- Household iron
- J-roller or similar pressure roller
- File, edge trimmer, razor knife, or sander
- Fine-grit sandpaper
- Plywood or other suitable panel
- Clamps, if needed
A file works especially well for trimming because it gives you good control and lets you work gradually.
Step 1: Choose Edgebanding Slightly Wider Than Your Panel
Start by measuring the thickness of your plywood.
For a 3/4-inch or 18 mm panel, the video demonstrates using 13/16-inch-wide edgebanding. A 7/8-inch width can also work.
The important point is to choose edgebanding that is slightly wider than the panel.
Avoid matching 3/4-inch edgebanding exactly to 3/4-inch plywood. A small amount of overhang on both faces gives you material to trim flush after installation.
That extra width makes it much easier to create a clean edge.
Step 2: Cut the Edgebanding to Length
Lay the edgebanding along the exposed plywood edge and leave about 1/4 to 1/2 inch of extra material at the end.
Cut or snap the strip to length.
You do not need a perfect final cut yet. Leaving a little extra gives you room to clean up the ends after the adhesive has set.
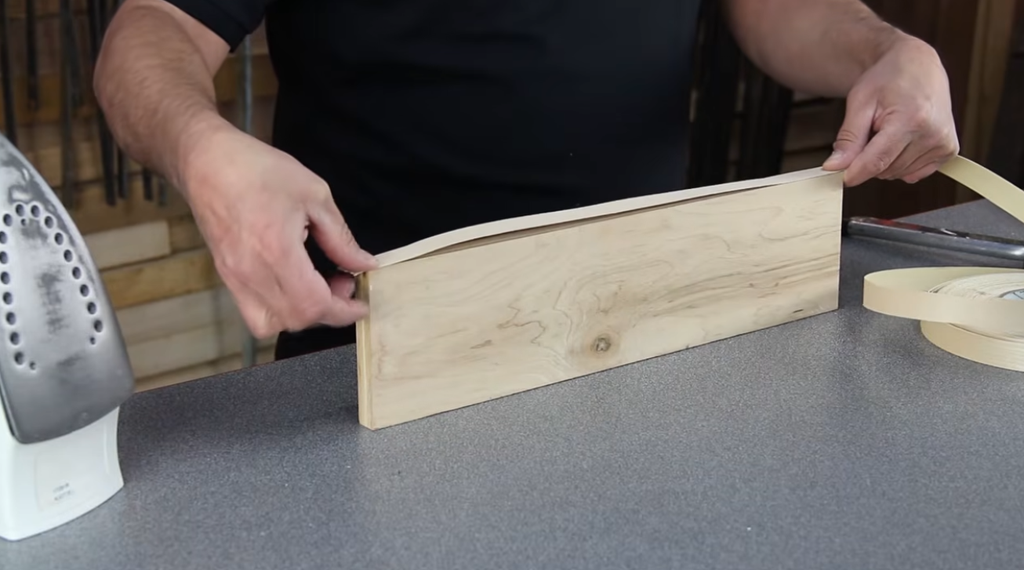
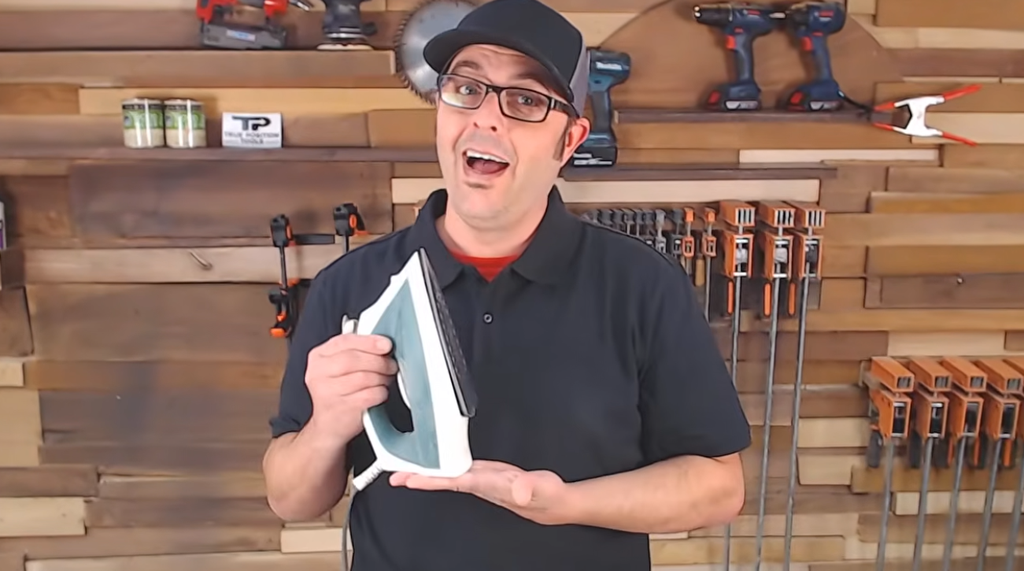
Step 3: Heat Your Iron
Plug in a standard household iron and let it warm up.
In the video, the iron is set near its hottest setting, around the cotton setting. Iron temperatures vary, so you may need to adjust yours.
The goal is to provide enough heat to activate the hot-melt adhesive without scorching the veneer.
Keep the iron dry. You do not need steam for this job.
Step 4: Position the Edgebanding
Center the veneer over the plywood edge.
Use your fingers to feel the amount of overhang on each side. Try to keep it as even as possible along the full length of the panel.
Do not worry about making the veneer perfectly flush. You want a small overhang because you will trim it later.
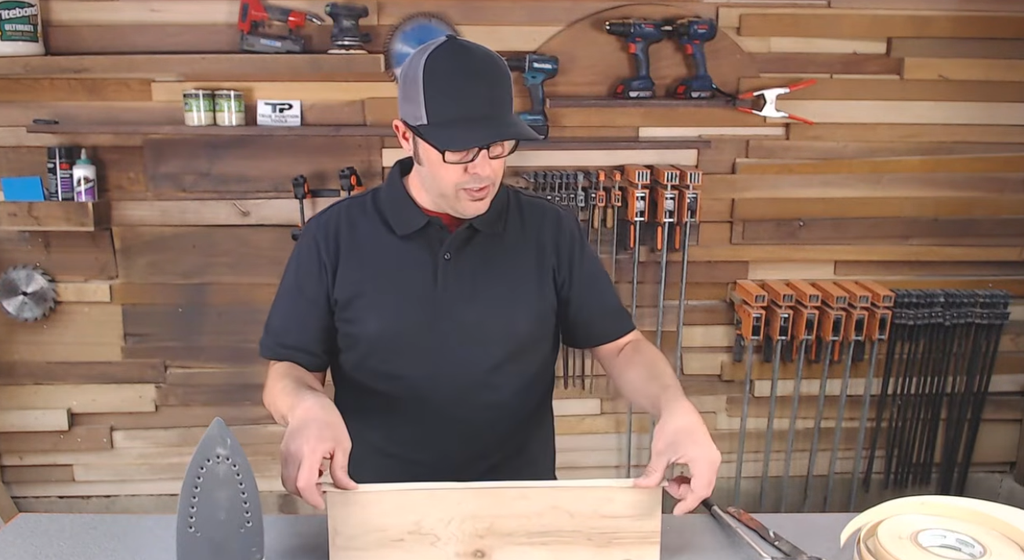
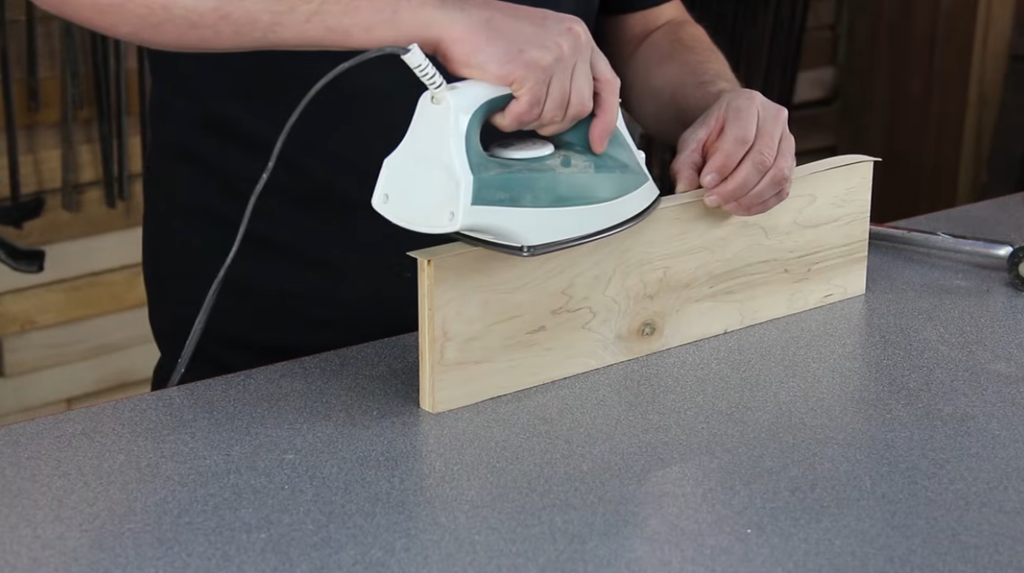
Step 5: Heat the Edgebanding
Place the iron flat against the wood veneer and begin moving it back and forth.
Work along the entire strip so the adhesive heats evenly. Avoid holding the iron in one place for too long.
For a shorter piece, you can make several passes across the full length. Longer pieces may be easier to handle in sections.
As the adhesive heats, the veneer and panel edge will become warm. You may also notice the glue becoming slightly tacky.
The goal is to activate the adhesive across the entire surface.
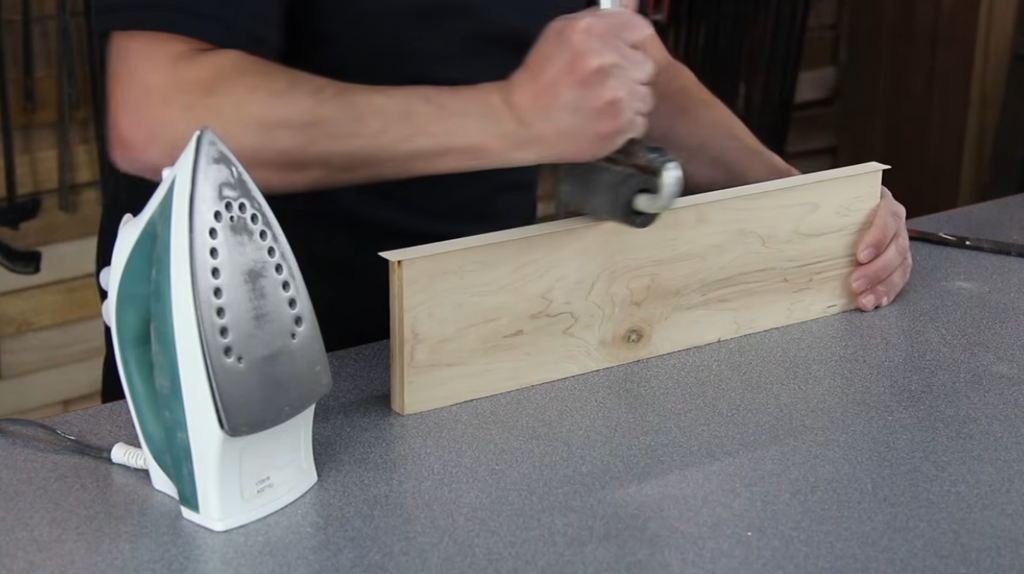
Step 6: Press the Veneer Firmly With a J-Roller
After heating the glue, use a J-roller to press the edgebanding firmly onto the plywood.
Apply even pressure along the complete length.
Take extra care near the sides of the veneer. Thin wood veneer can crack or splinter if the roller slips over an unsupported edge.
You can also angle the roller slightly toward each side to make sure the outside edges bond well.
Firm pressure helps create good contact between the adhesive and the plywood.
Step 7: Let the Edgebanding Cool
Do not start trimming immediately.
Give the veneer a few minutes to cool so the hot-melt adhesive can set. If you move or trim the veneer while the glue is still soft, the strip may shift.
This short cooling period helps lock everything in place before you work on the edges.
Step 8: Trim the Edgebanding Flush
Once the adhesive has cooled, remove the excess material from both sides of the panel.
You have several options:
- File
- Edgebanding trimmer
- Razor knife
- Sander
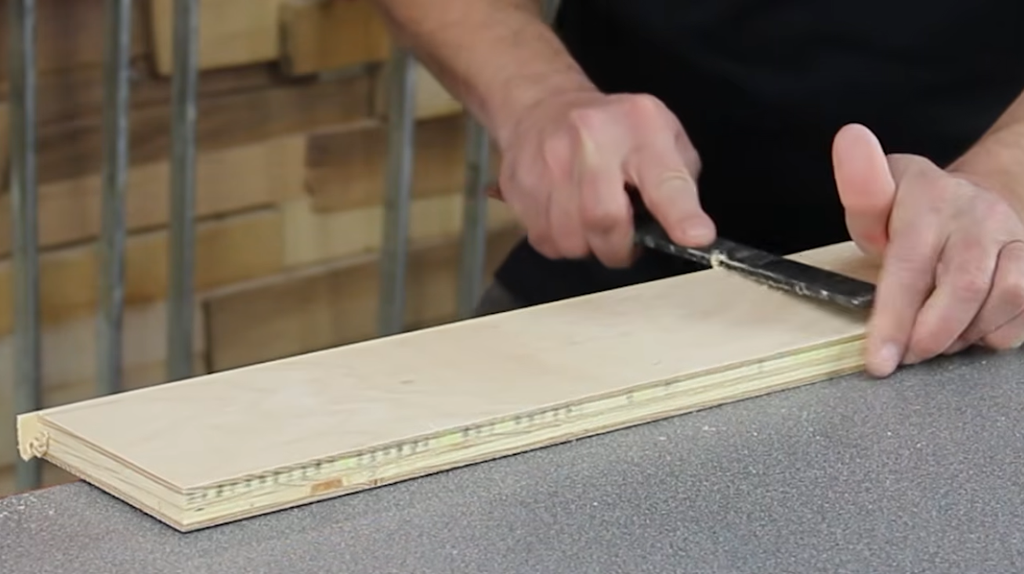
The video demonstrates using a file.
Start with the rough cutting surface of the file at a slight angle to the plywood face. Work gradually along the overhanging veneer until the excess begins to roll or break away.
Do not start with the file completely flat against the panel. The slight angle helps remove the larger overhang first.
Once most of the excess is gone, bring the file flush with the plywood face and make light passes until the veneer sits even with the surface.
Flip the panel over and repeat the process on the other side.
Step 9: Sand the Finished Edge
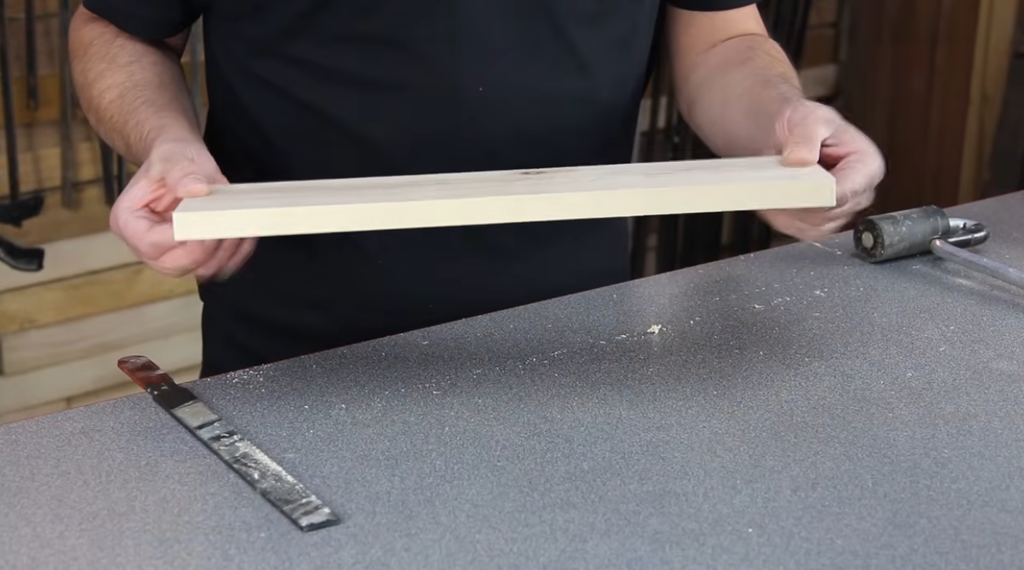
Finish the job with a little hand sanding.
Use fine-grit sandpaper to smooth any rough areas left by the file and lightly soften the sharp corners.
Sand carefully. Real wood edgebanding is thin, so aggressive sanding can cut through the veneer.
A few light passes are usually enough to produce a clean, comfortable edge.
Common Edgebanding Mistakes to Avoid
Using Edgebanding That Is Too Narrow
Give yourself some overhang. Trying to line up edgebanding that is exactly the same width as the panel leaves little room for error.
Slightly wider veneer is much easier to trim flush.
Not Applying Enough Heat
The hot-melt adhesive needs heat to bond.
If an area lifts after application, the adhesive may not have become hot enough. Reheat the loose area and apply pressure again.
Holding the Iron in One Spot
Keep the iron moving.
Too much concentrated heat can damage or discolor the wood veneer.
Skipping the Roller
Heat activates the glue, but pressure helps create the bond.
Use a J-roller or another suitable roller to press the veneer firmly against the panel while the adhesive is hot.
Trimming Before the Glue Cools
Give the adhesive time to set before filing or cutting the edge.
Working too soon can cause the veneer to slide or pull away from the plywood.
Filing Too Aggressively
Real wood veneer can split.
Use controlled strokes, especially near the ends and corners. Remove a little material at a time rather than trying to finish the edge in one pass.
Why Use Pre-Glued Real Wood Edgebanding?
Pre-glued wood edgebanding offers a simple way to upgrade plywood furniture, cabinets, shelves, and other woodworking projects.
It can help you:
- Hide exposed plywood layers
- Create a cleaner finished appearance
- Match the edge to real wood veneer faces
- Apply an edge without a dedicated edgebander
- Complete small projects with common shop or household tools
Edgemate real wood veneer edgebanding is especially useful for DIYers and small shops that want the look of a finished wood edge without investing in specialized machinery.
Final Takeaway: How to Apply Real Wood Edgebanding
Applying real wood edgebanding is easier than it may look. Choose a strip slightly wider than your plywood, activate the pre-glued adhesive with a household iron, press it firmly with a roller, let it cool, and trim the excess flush.
A little practice goes a long way. Once you get comfortable controlling the heat and trimming the veneer, edgebanding becomes a fast way to give plywood projects a clean, professional-looking finish.
For your next cabinet, shelf, furniture, or home improvement project, explore real wood edgebanding options at Woodworker Express and choose the wood species and width that best matches your material.